
CB & Scanner, Install, Part 1
This content has been archived. It may no longer be relevant
I ordered a Uniden Bearcat 980SSB radio the other day from Amazon, along with two Firestik II FS4-B antennas, two Firestik SS-3H antenna springs, two Firestik K-4A antenna studs, and a RoadPro RP-18CC cable for dual antennas. They were all supposed to arrive today because we are leaving town tomorrow, but the package containing the springs, studs, and cable were all delayed, and we don’t know when we will receive them. After thinking about it a while, I picked up a Uniden Bearcat BCD536HP scanner locally as well, for infotainment purposes. I ordered the same antenna stud and spring, a Firestik MSM-4B antenna, a Garmin 18x GPS receiver and window mount, and 12′ of coax cable with PL-259 ends.
I went ahead and installed the radios in the console of the truck, and will follow up with the antenna install in another post. As I don’t have any antennas, the CB is non-functional so I cannot comment on the radio itself. The scanner was shipped with very old firmware, which was fairly easy to update using my PC. Using the base-station antenna that came with it, it picks up a lot of local channels very clearly, including Austin and Pflugerville police, EMS and fire services, UT campus security, and I think a couple of the local airfields. I will be installing it with a Garmin GPS receiver, so that it will automatically change scanning parameters to our surrounding areas as we drive.
CB radio only, before I decided to go with the scanner. Shows the mounting location of the microphone.
The install was very simple. I pulled off the trim pieces on either side of the console, and removed the cupholders. I also removed the trim over the fuse panel on the dash. I drilled two 1″ holes in opposing corners of the bottom of the console bin where I mounted the radio. One on the driver front corner and one on the passenger rear. I ran the wiring for power down through the driver front hole, up to the dash, across the dash under the steering wheel (all concealed inside the dash) and into the fuse panel. In the fuse panel, I tied the positive leads into a Lumision fuse tee and grounded the other wires under one of the 10mm bolts attaching the dash to the body. This is the same fuse tee and ground location I am using for my EEZTire TPMS system.
After reattaching all the trim pieces, I drilled out a couple extra holes in the scanner mount to place it closer to the base so that both radios would fit, and screwed the mount to the back of the console, just above the seam where the plastics change. I then found some scrap plastic and used a piece of paper to template the mounting holes between the scanner and the CB if the fronts were flush. I used that template to drill out the pieces of plastic, and used the homemade bracket to secure the CB to the scanner, and the scanner to the scanner mount.

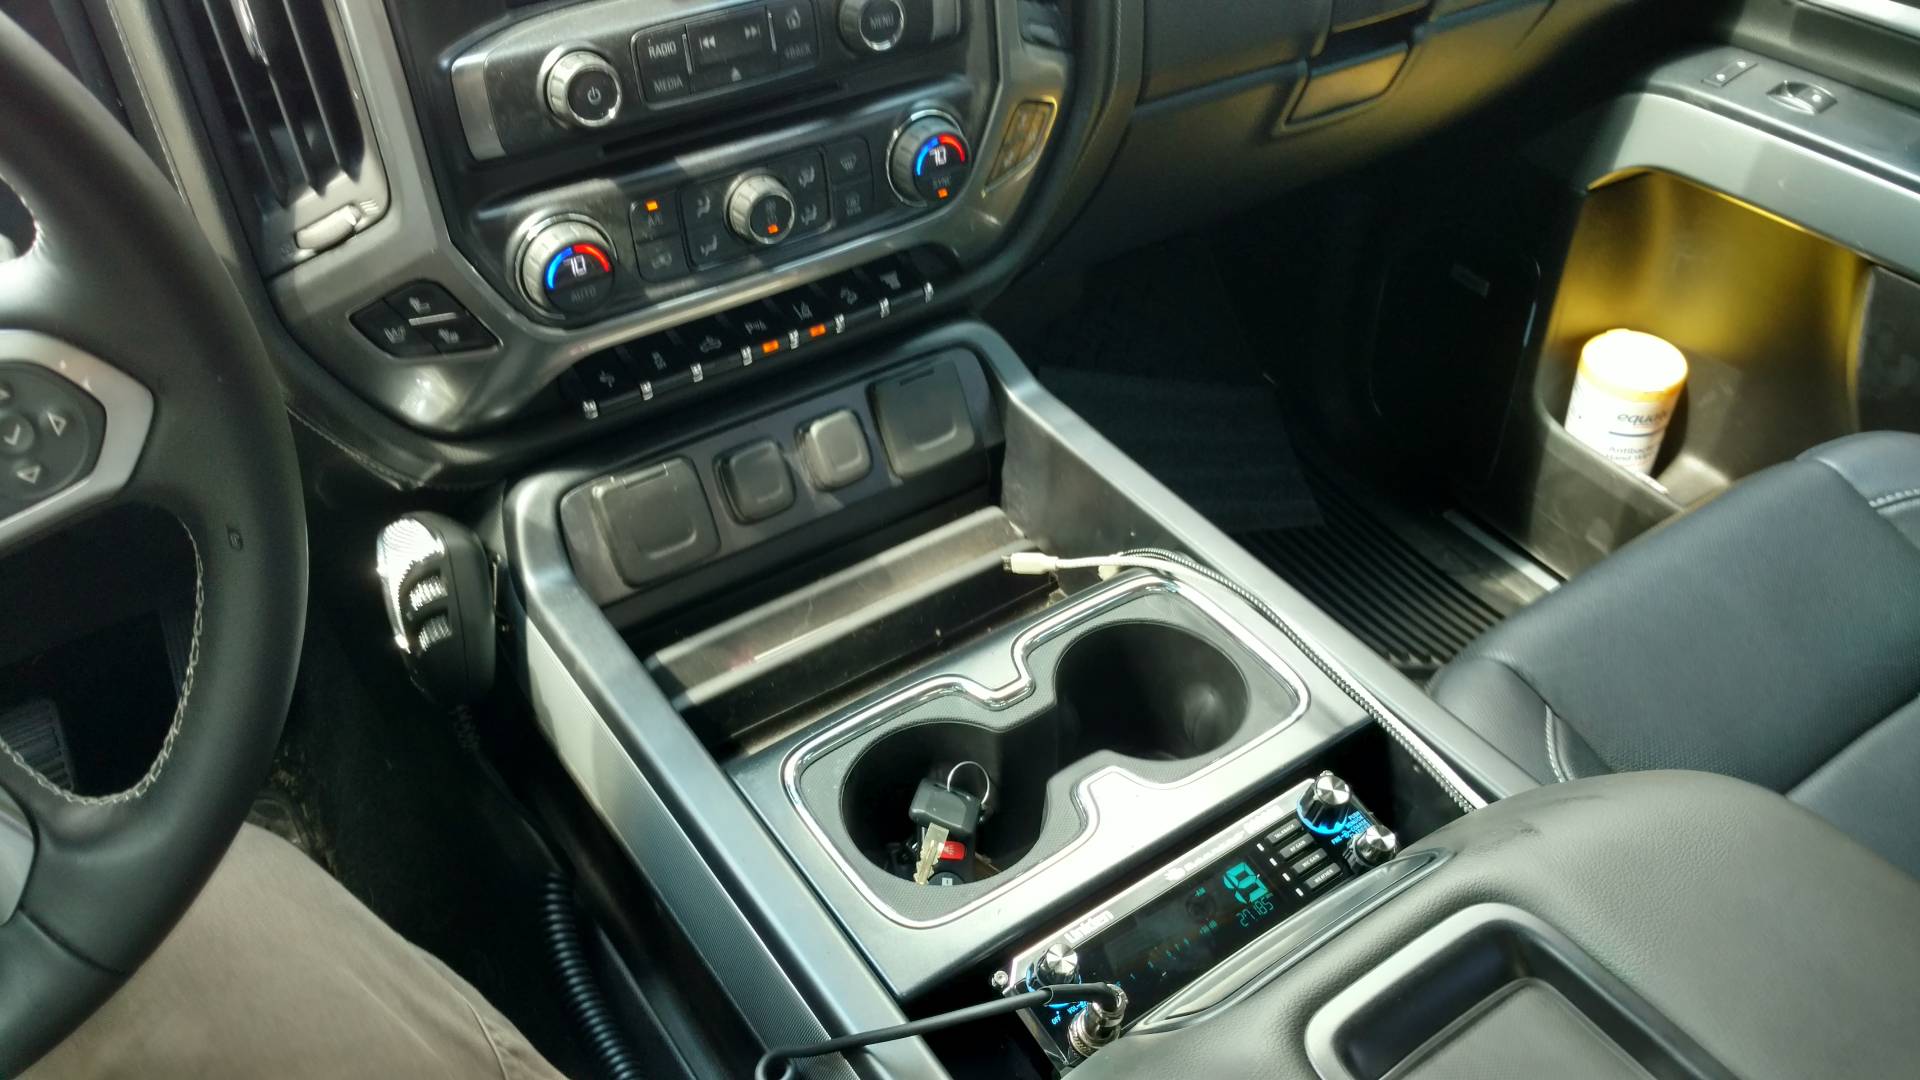
Completed install of both CB and scanner. I’m happy with the results.
I decided to mount the the CB mic at the front corner of the console, where it is easy to reach but far enough out of the way that I won’t hit it with my knees, once again using the included screws. When the antenna hardware comes in, I will be using the passenger rear hole I drilled to route the cables up to the radio.
[amazonjs asin=”B007B5ZAES” locale=”US” title=”Uniden BEARCAT CB Radio With Sideband And WeatherBand (980SSB)”]
[amazonjs asin=”B00HZOW5K2″ locale=”US” title=”Uniden BCD536HP Digital Phase 2 Base/Mobile Scanner with HPDB and Wi-Fi”]
[amazonjs asin=”B00OZFNJI6″ locale=”US” title=”Lumision FAST SHIPPING* ADD-A-CIRCUIT ATR MICRO2 FUSE-TAP Add ON DUAL CIRCUIT ADAPTER AUTO CAR TERMINAL + FUSE SET 5, 7.5, 10, 15, 20 AMPS”]