
Gimbal Bearing Replacement
This content has been archived. It may no longer be relevant
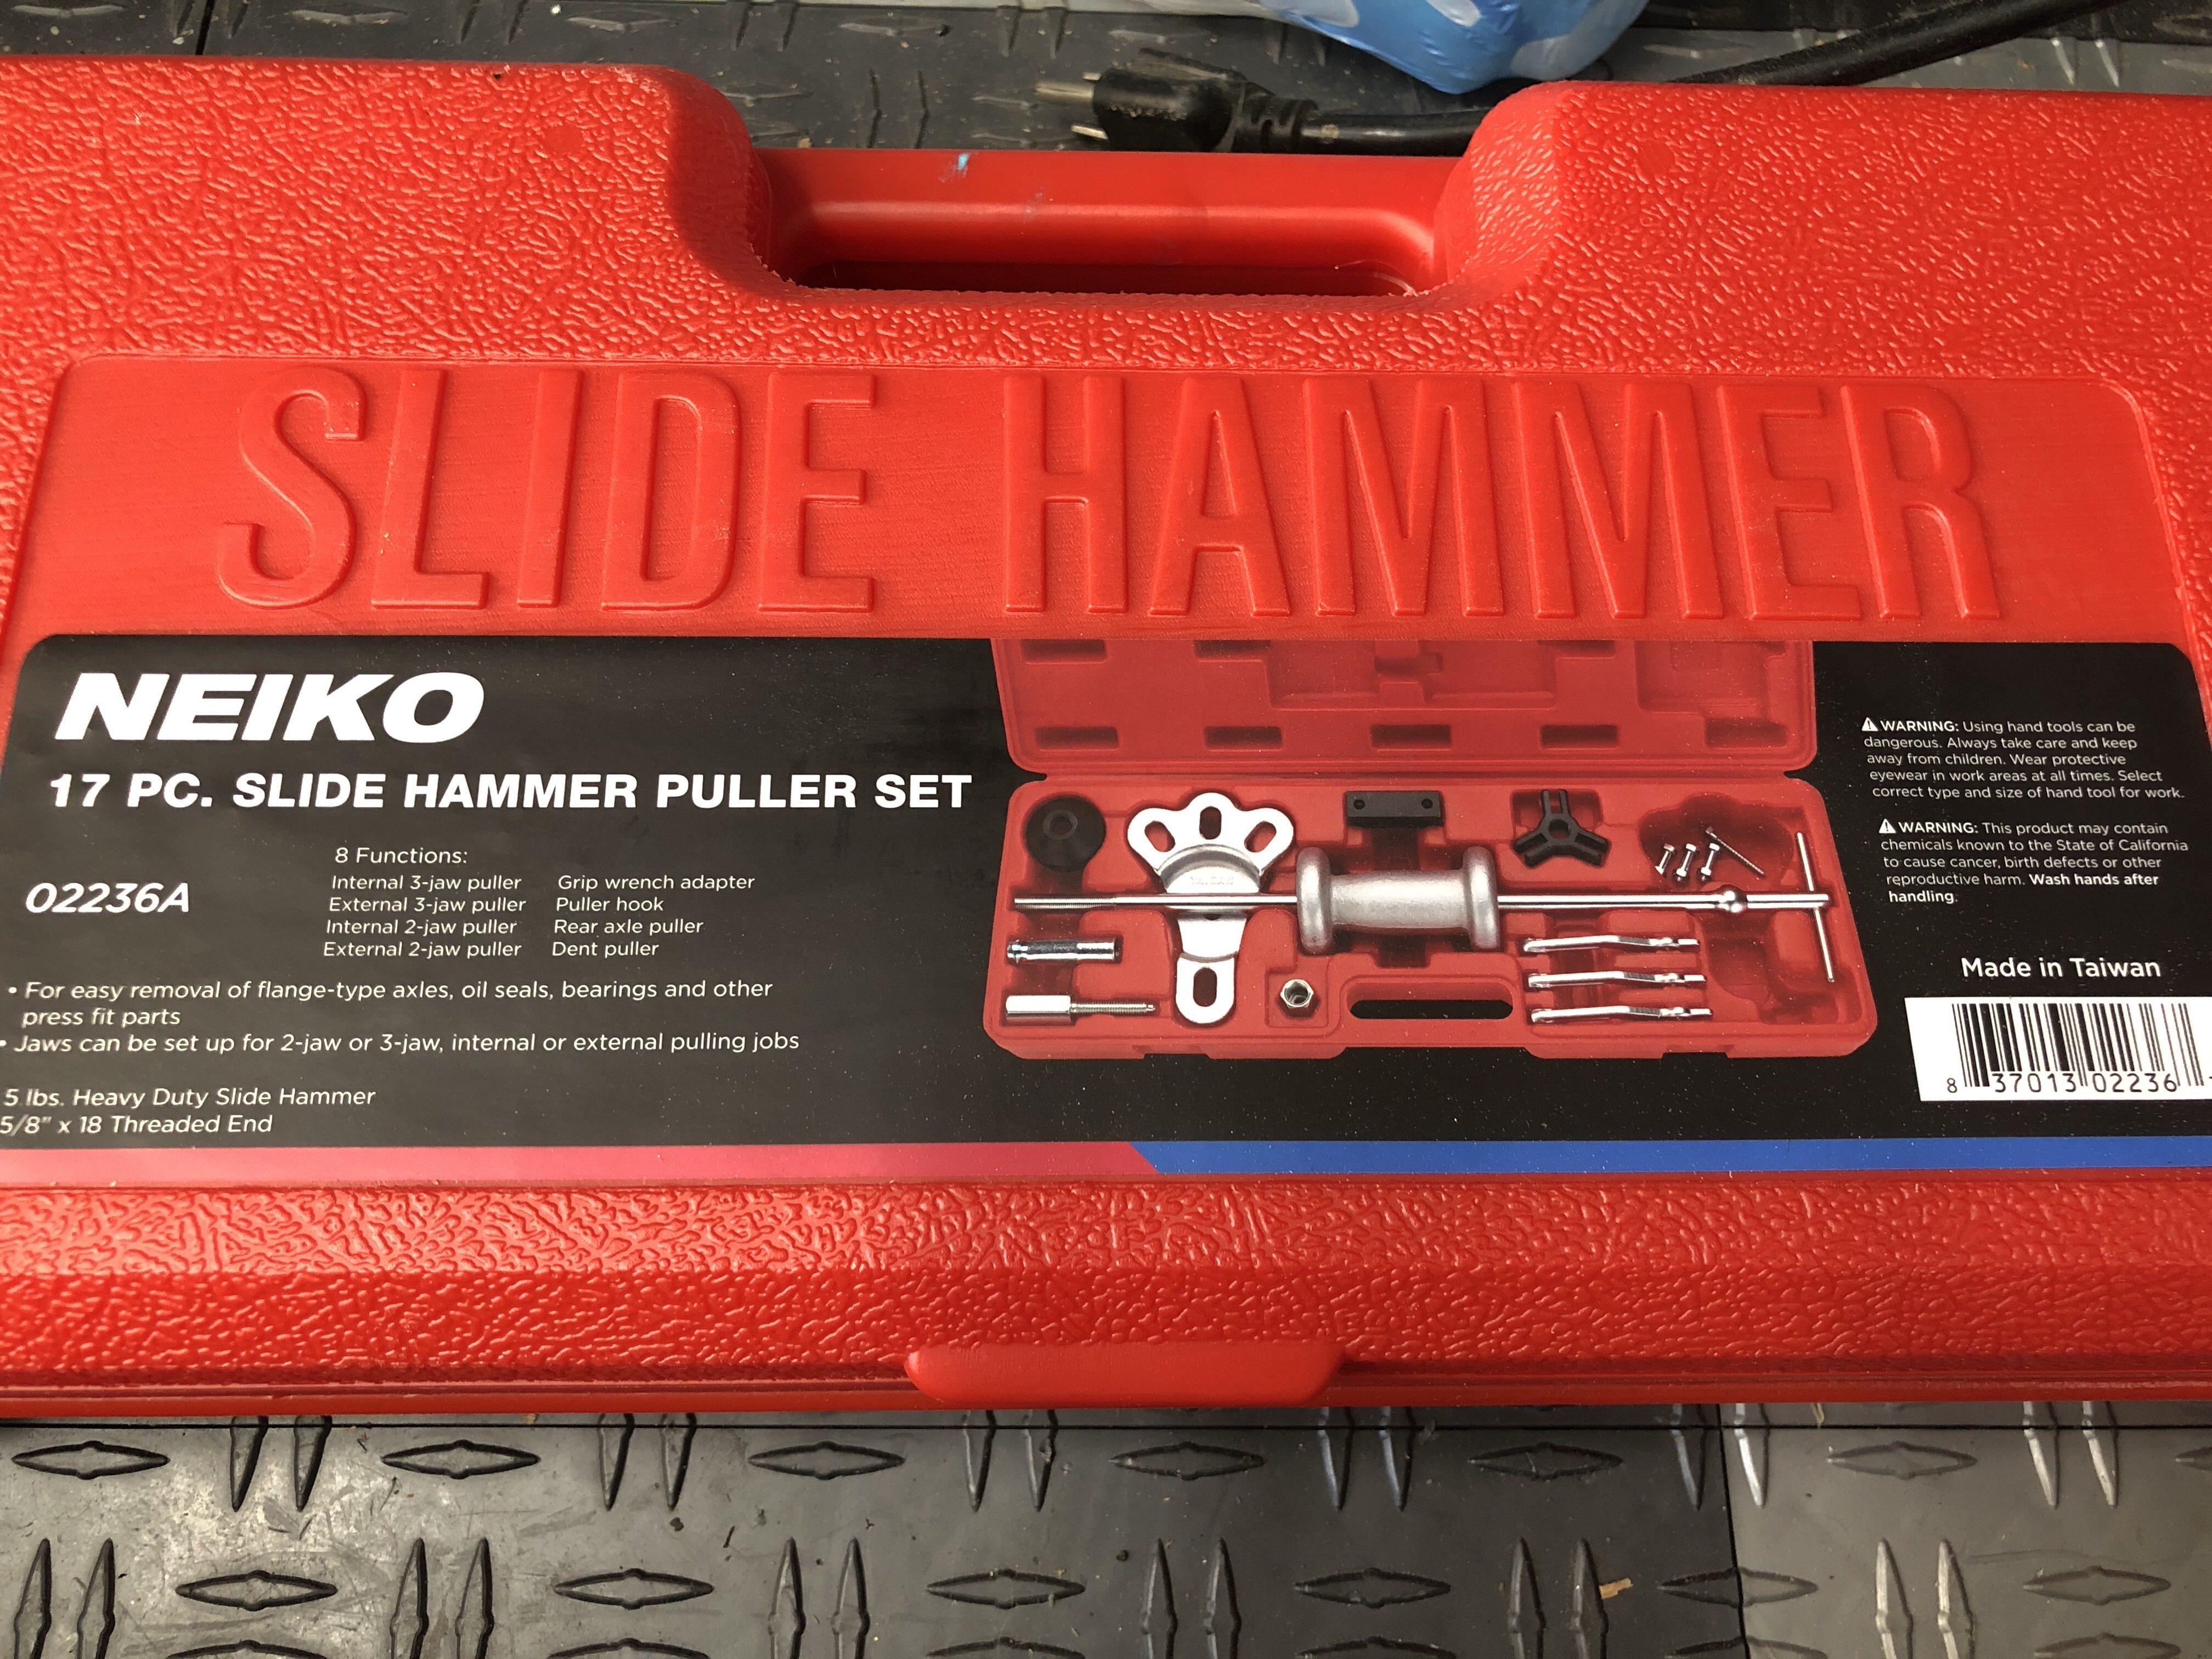
I read lots of forum articles, the service manual, and watched a few Youtube videos before tackling this. Most accounts complained about how difficult it was to get the old bearing out and get the new one in, and used specialty tools that Volvo and third party companies charge big bucks for. Ultimately, I decided it was time to buy a slide hammer. It’s not the specialty tool that Volvo and most parties recommend now, but is what they mentioned in an old 1994 copy of the service manual. It cost around $60 on Amazon, far less than the $150 for the specialty tool, and will do be useful for other things. In fact, after using it and playing with some of the attachments, I don’t know how I’ve gotten by this long without one in the shop.
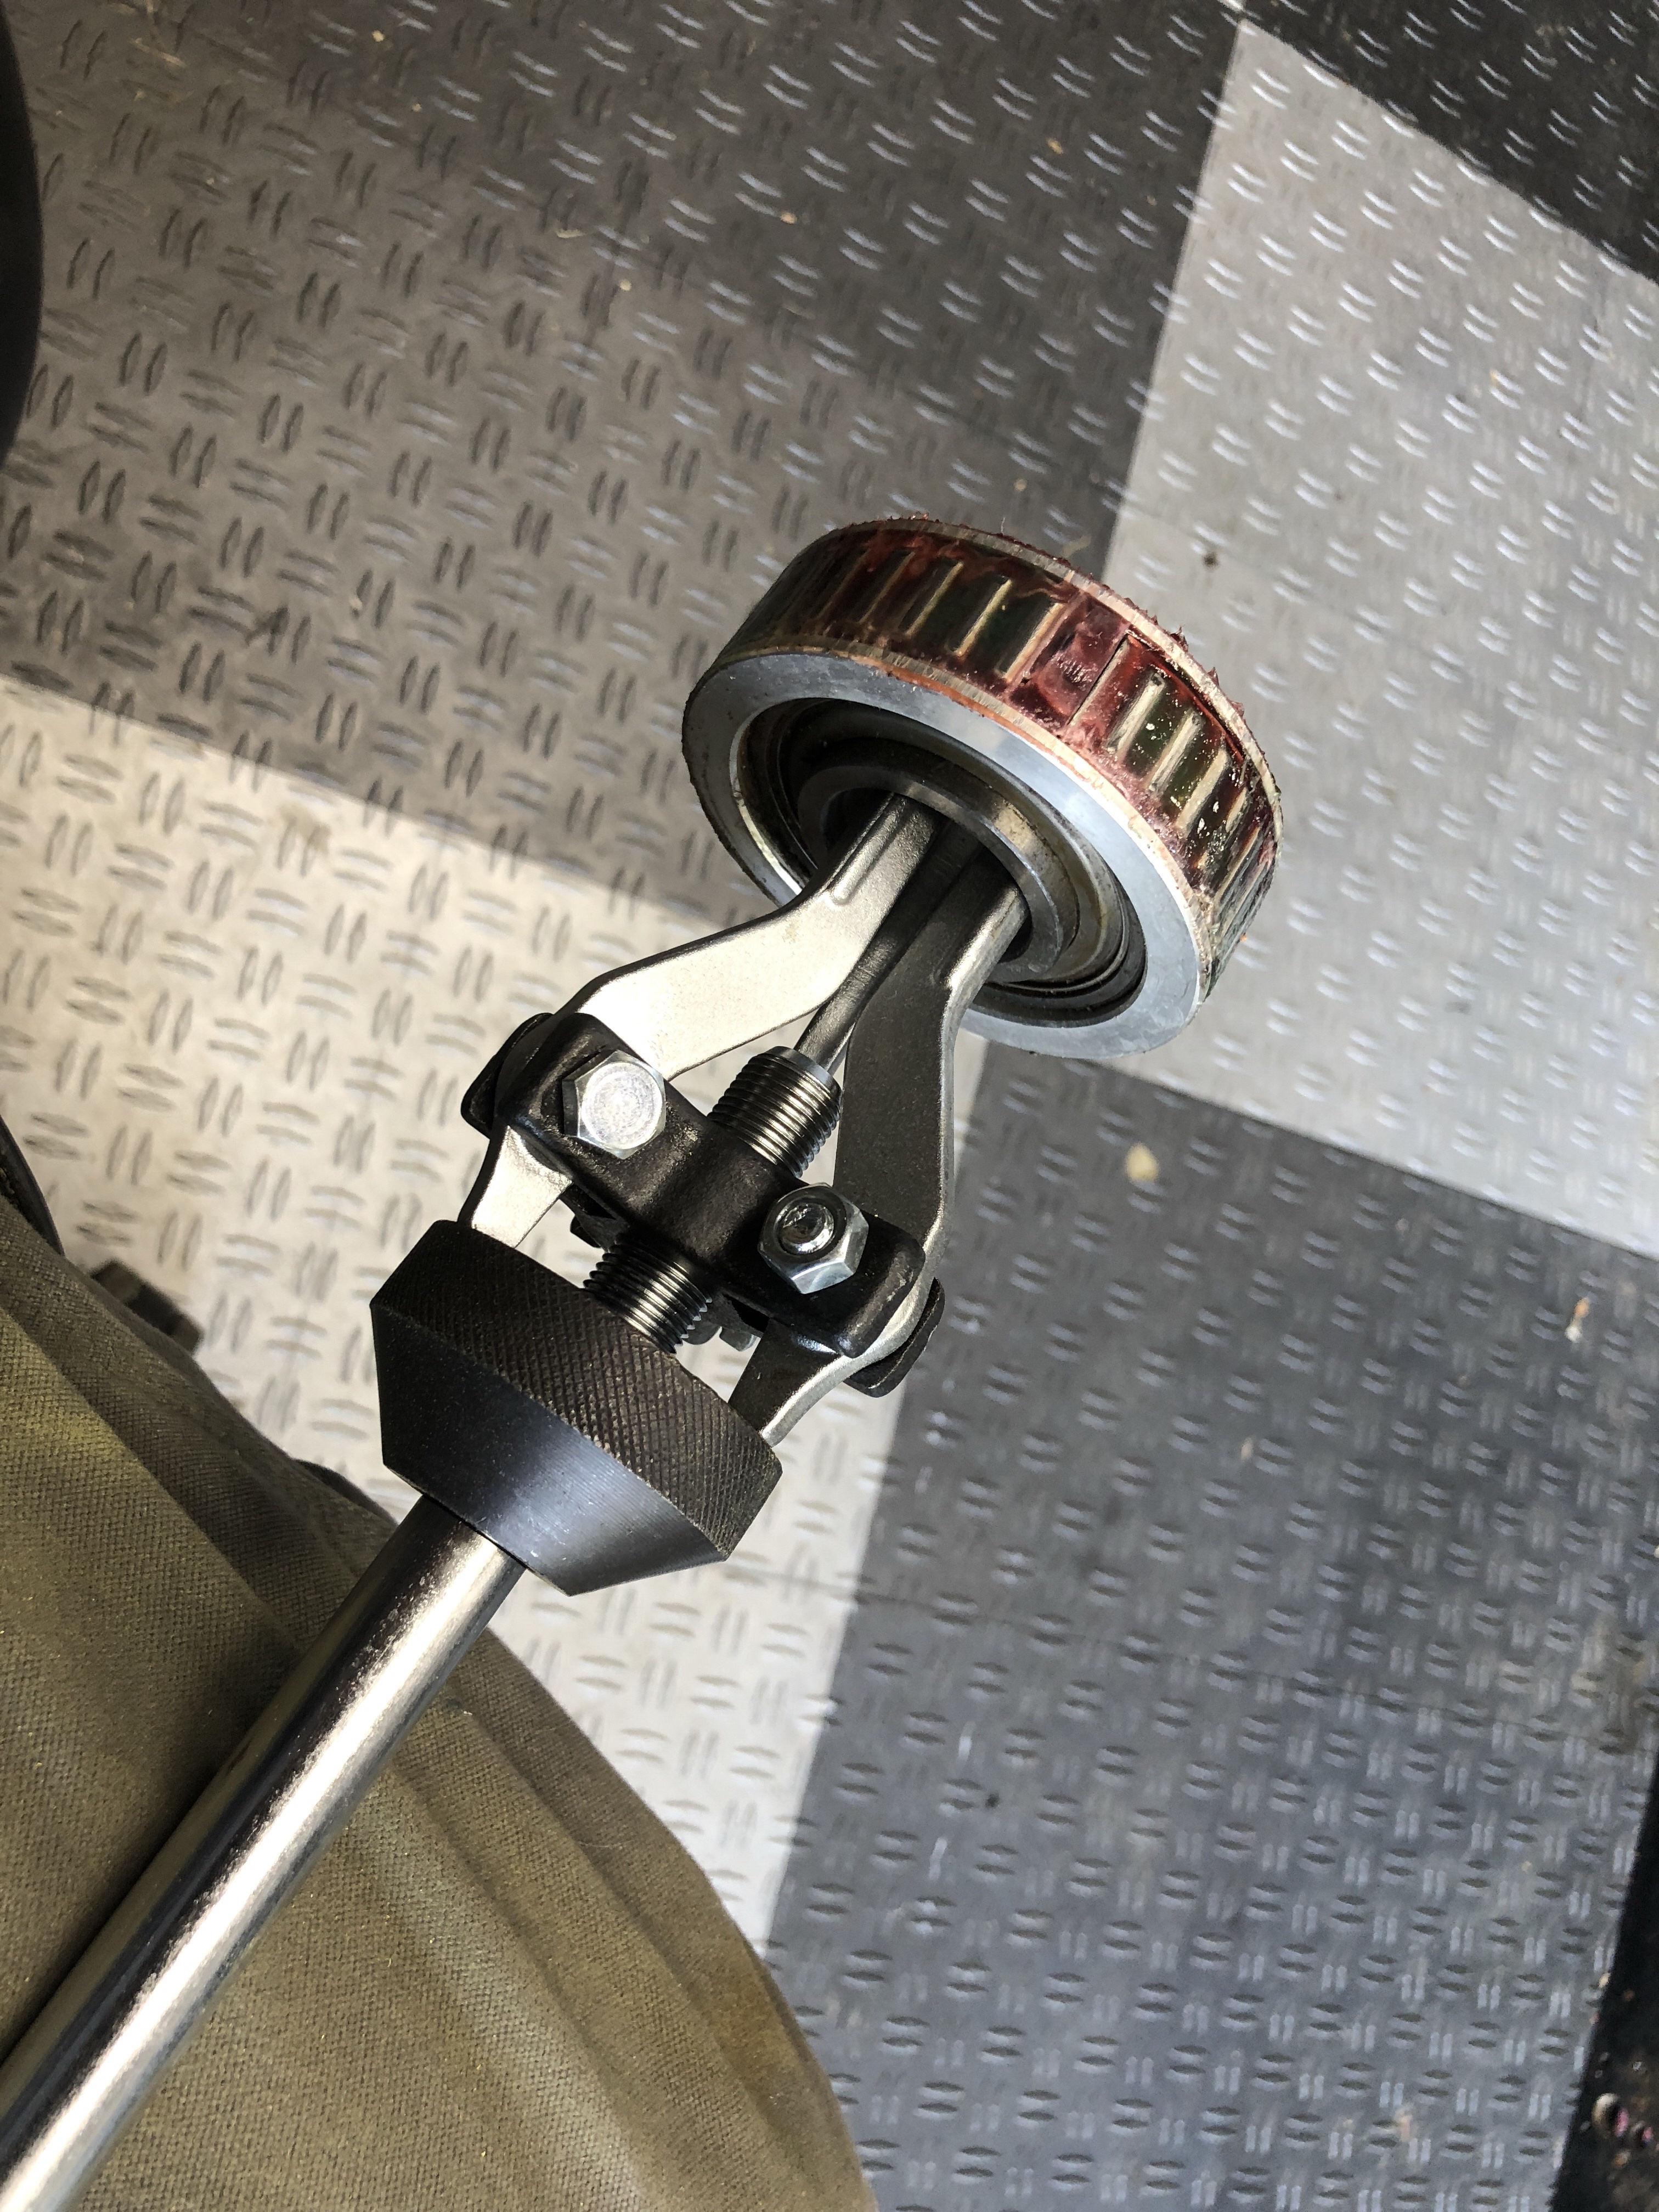
I configured the 3-jaw puller attachment for internal use, and fed it through to the backside of the bearing. Three or four racks of the hammer and it pulled right out. Extremely quick and easy.
To install the new one, most places sell a $25-$60 piece that you slide on the alignment tool. I would have bought one, but Amazon didn’t have any for delivery over the weekend and I was hoping to get it back together by tomorrow. So off to Home Depot I went:
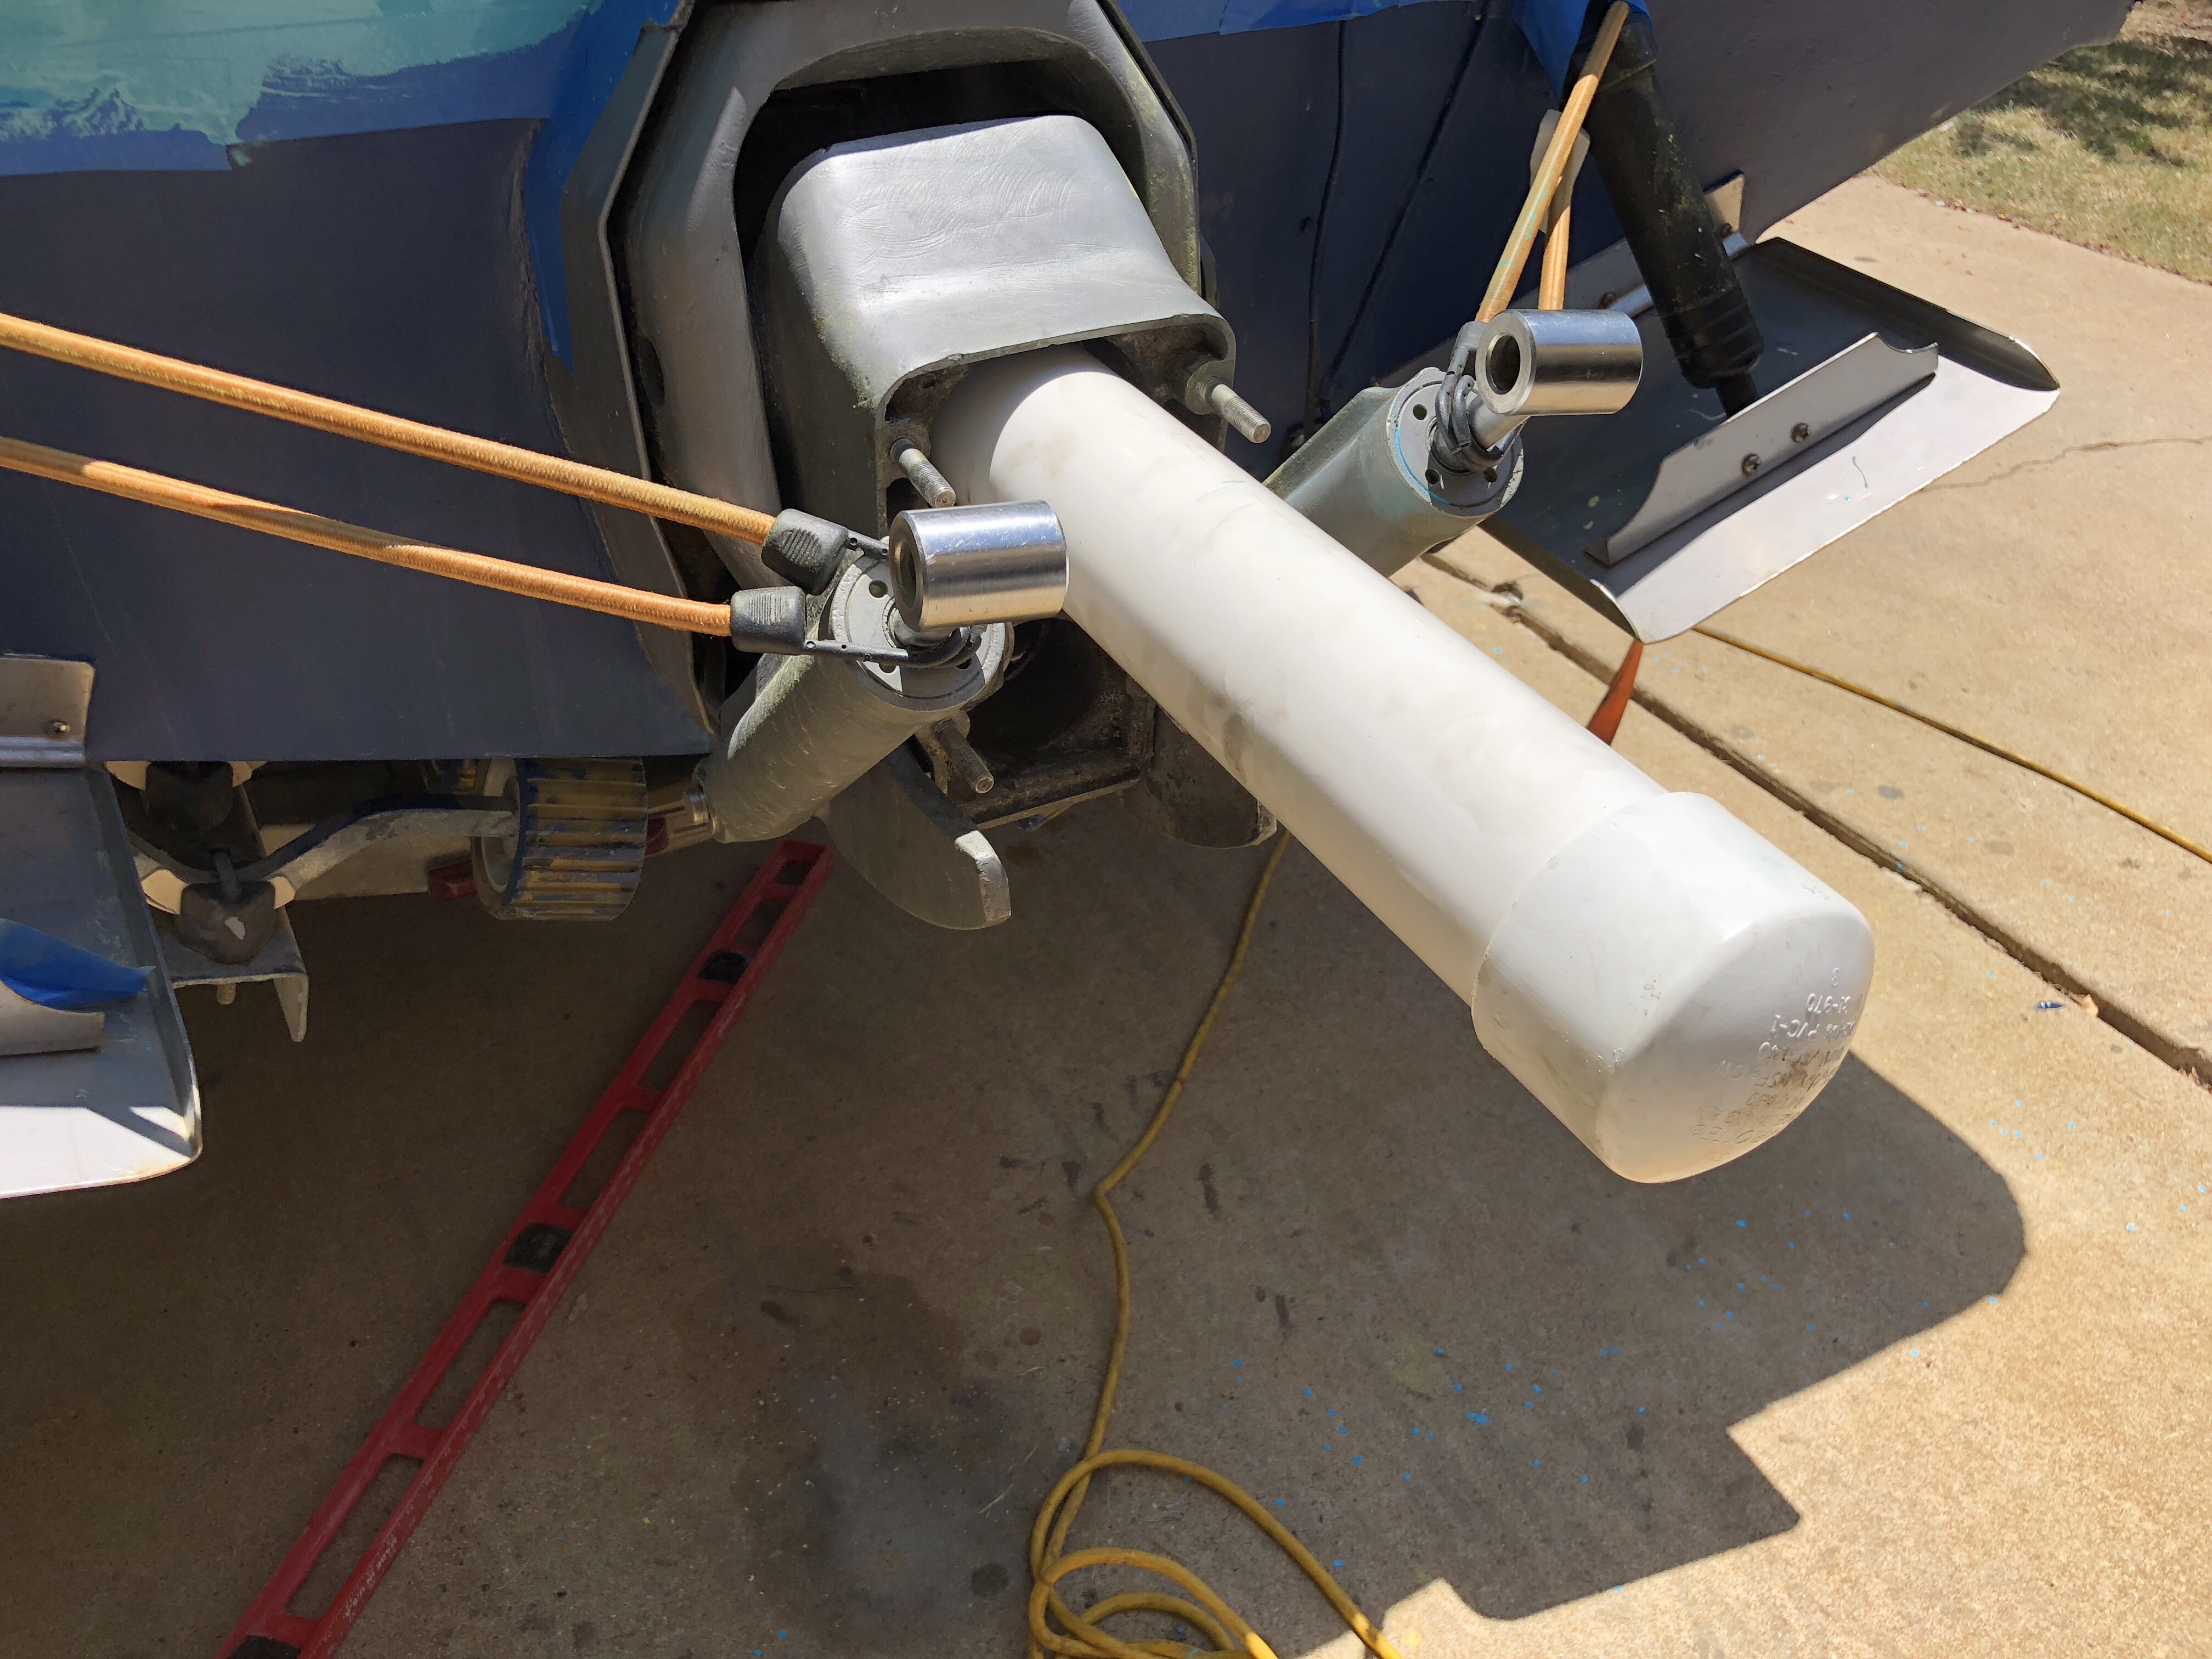
A 3″ piece of PVC pipe seats perfectly on the outside ring of the bearing cartridge, which is the safest area to beat on. I bought a 2′ section and added an end cap to provide a good hitting surface. About 15 whacks with a 3# sledge, and it was firmly seated. Again, quick and easy. I checked that it was tracking straight every couple hits, but it’s really difficult to mess up with the way the 3″ pipe fits in there.
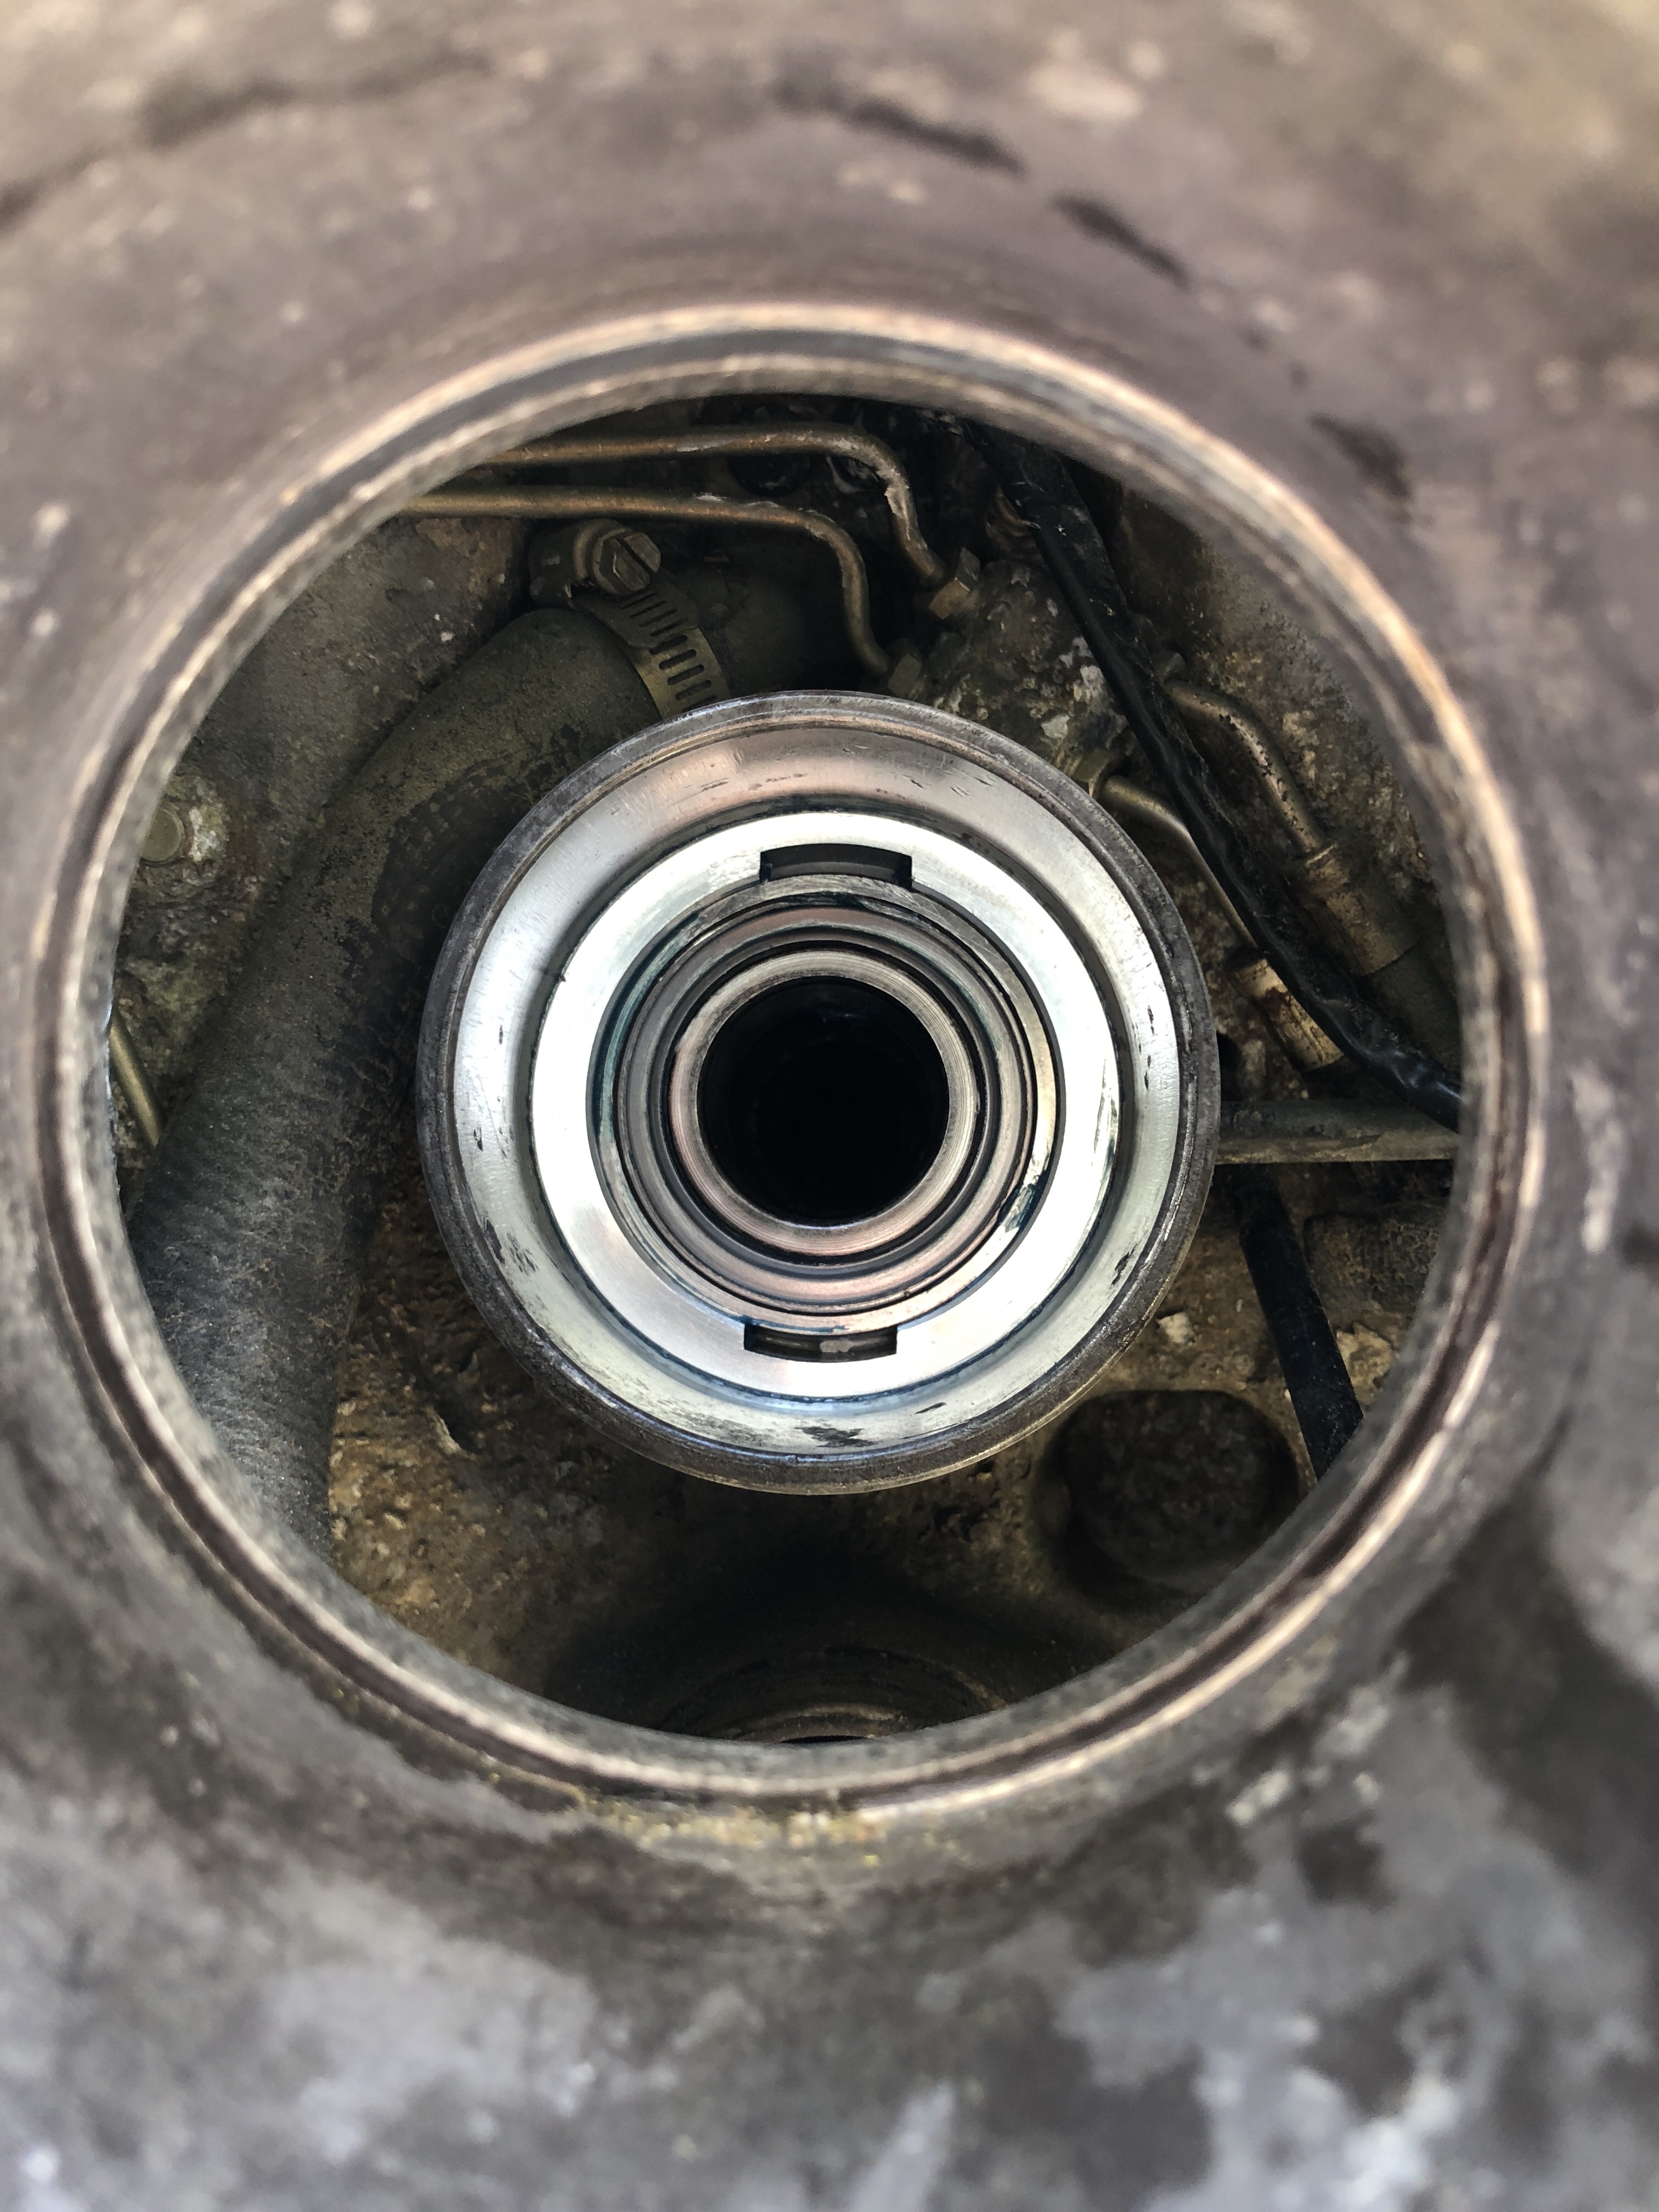
It is difficult to see but I marked the casing with a thin Sharpie where the grease fill is, and visually lined it up with the grease tube and zerk on the right side of the gimbal housing. I put the alignment tool in and spun it while adding blue marine grease, until grease started coming out all the way around, then wiped away the excess. It took most of the mark with it.
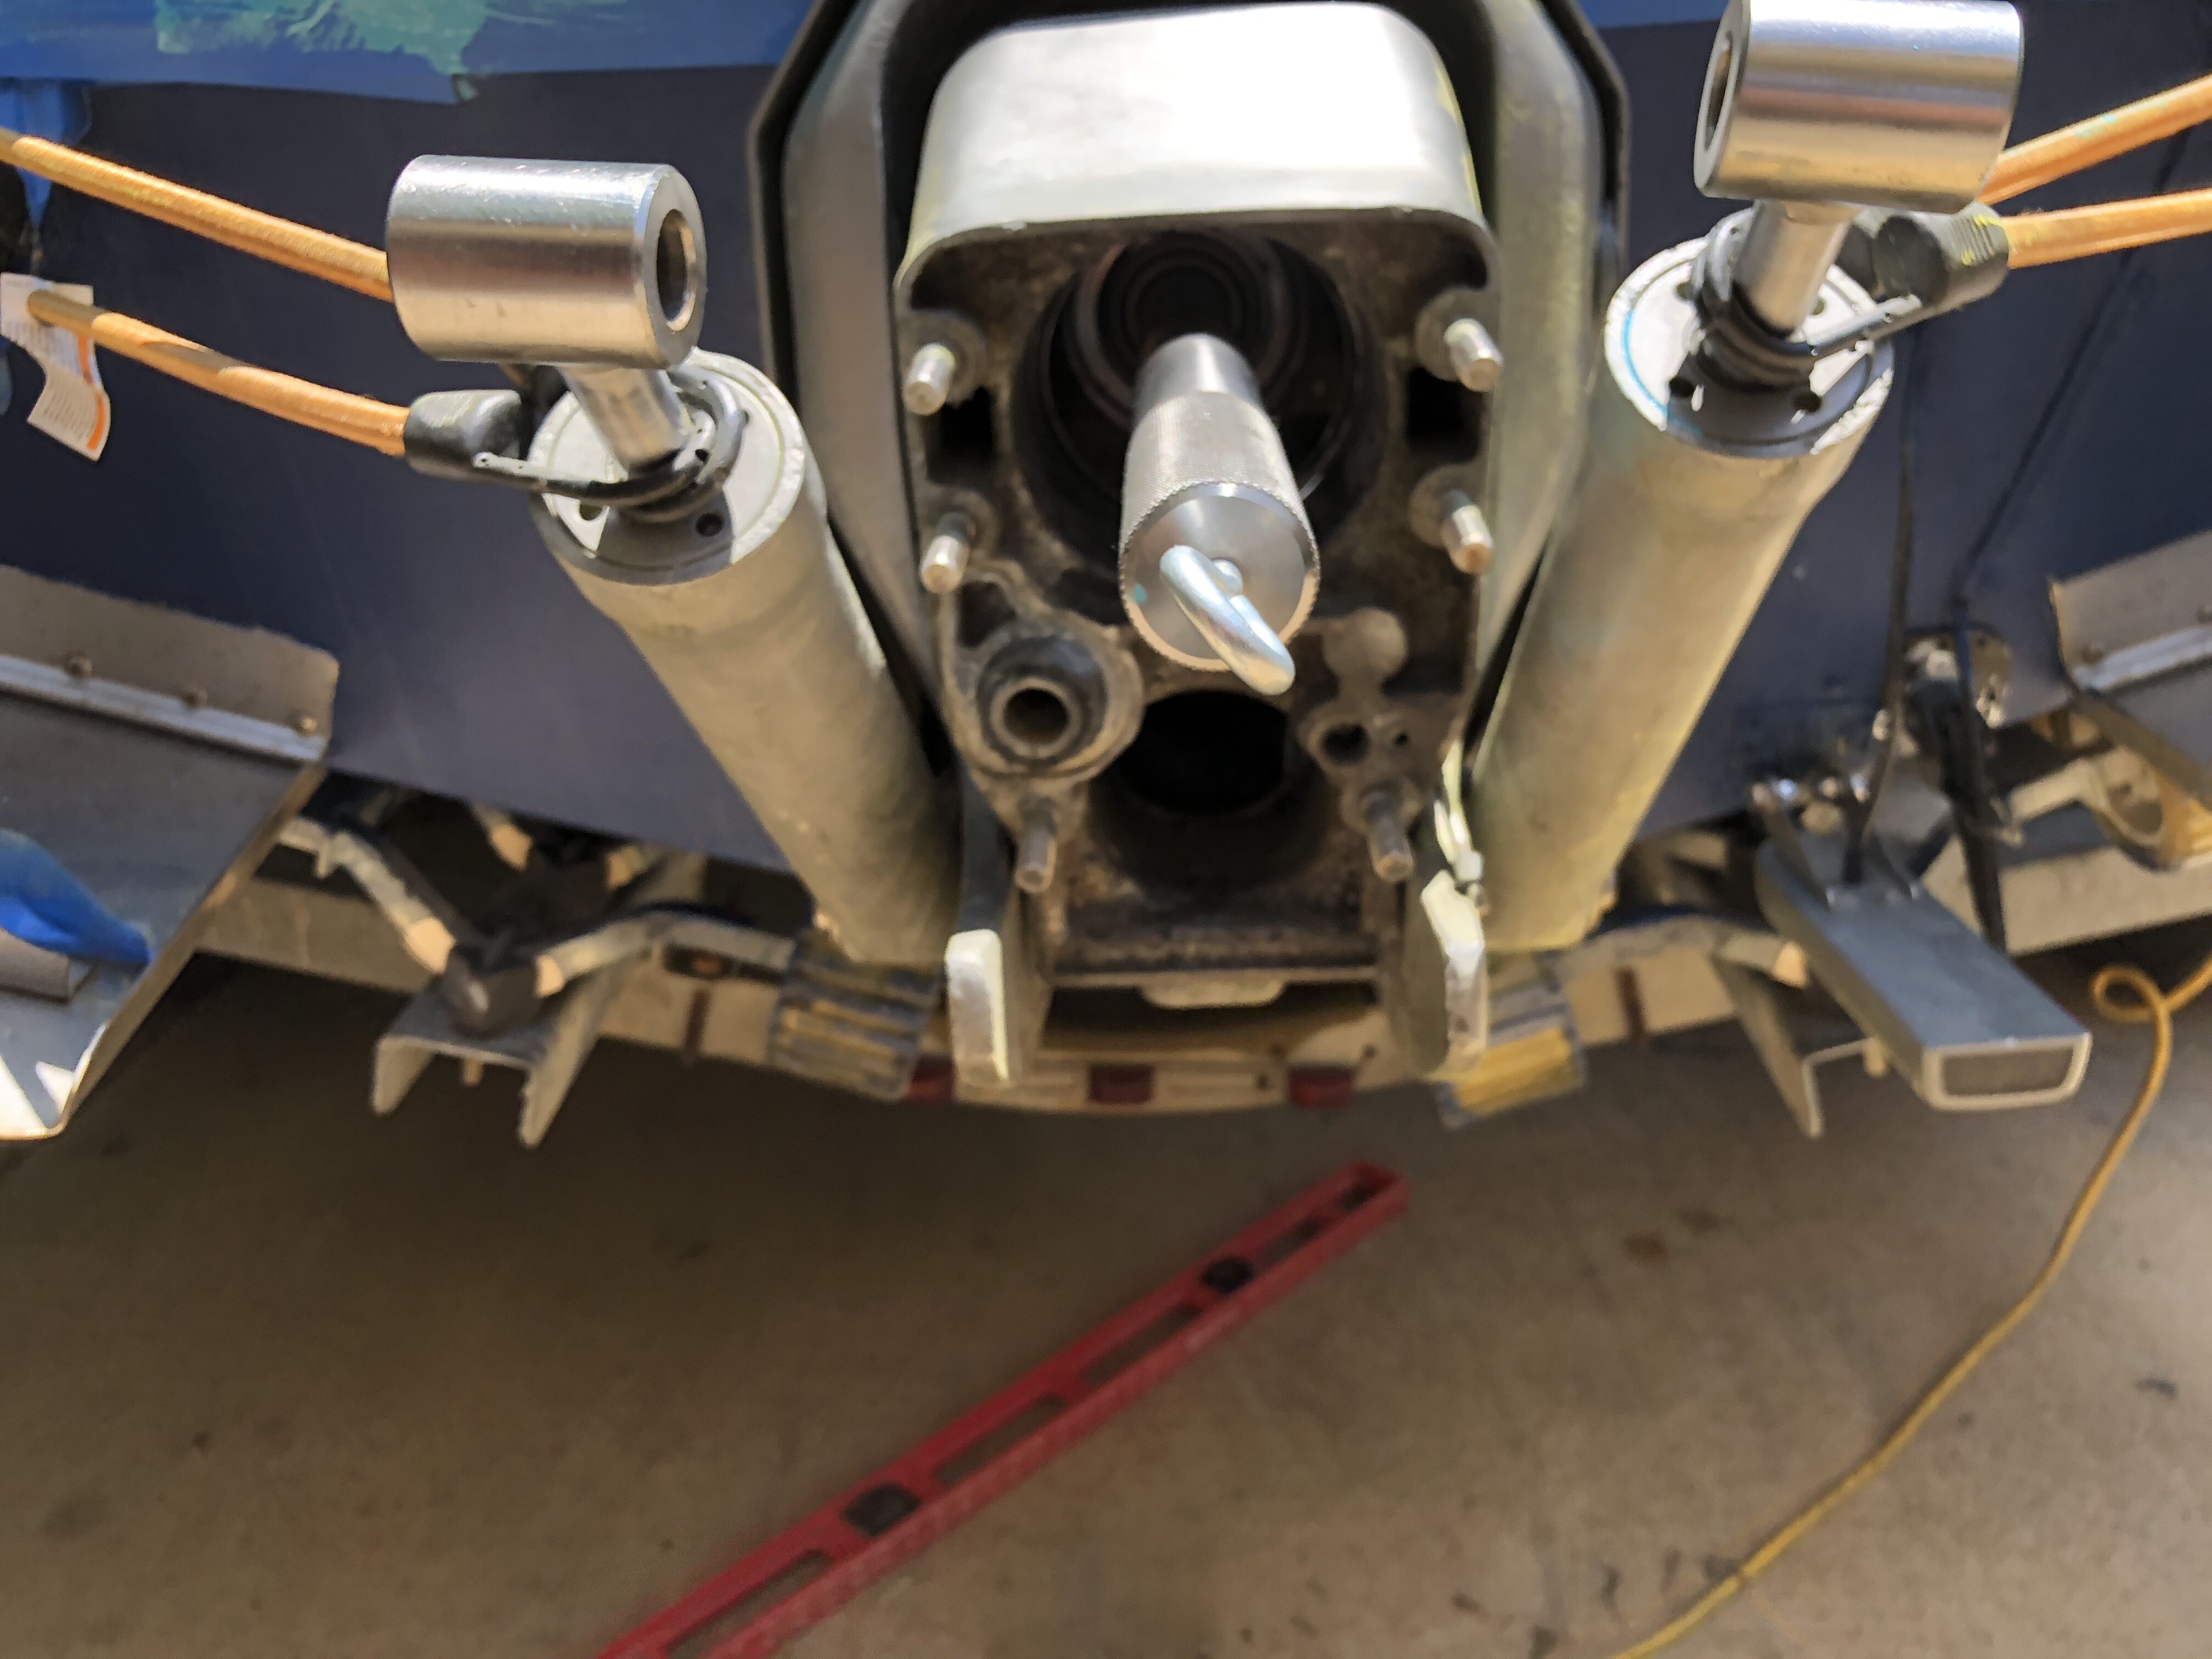
Finally I used the put the alignment tool in and hit it L-R-U-D with a rubber mallet, to square everything to the engine coupler, then used my PVC pipe to hit the bearing another time for good measure, and checked the alignment. All looks good and the action is very smooth. This project went quicker and easier than it was made out to be online, and if you want to do it with $70 worth of multipurpose (instead of specialty/ single purpose) tools I highly recommend the ones I listed in this post.