
Meal Prep
This content has been archived. It may no longer be relevant
I’ve mentioned a few times in the past that we do a lot of meal prep and cooking ahead, but have never gone into the details. Typically once every month or two, we’ll spend a Saturday cooking and packaging meals for the month(s) ahead. Cooking ahead like this is amazing for convenience and time throughout the month, and even great for RVers because you can take fully cooked, easy to serve meals with you on the road.
We used to do all the planning for this on our own, but have used Once a Month Meals (OAMM) off and on over the last few years. We dropped them while we were completely vegan because they didn’t have enough vegan options, but in the time since they have added several. It has improved a lot since we started using it, and streamlines the planning process significantly. At about $16/mo for a membership it seemed a little steep at first, but when I run my time against it, it becomes a great deal. It saves 3-4 hours of work, at least, every meal planning session, and my time is worth more than $4 an hour to me. In a nutshell, the site provides six functions:
- Recommended meal plan menus. They release several menus every season, with seasonal recipes already populated in them. The menus are all categorized in categories like Traditional, Diet, Dairy Free/ Gluten Free, Paleo, Vegetarian, etc. These are the jumping points we use for our planning – we’ll grab a menu, usually the vegetarian one, and modify it by “swapping” recipes as we see fit. So instead of having to locate fifteen recipes, we use the fifteen or so they recommend, and sub in two for the ones that don’t sound so appetizing. One thing that I wish they would add is the ability to add more recipes to a menu, so if I want to add a 16th recipe to a 15 recipe menu, I can. Not a deal breaker, though.
- Recipe database. There is a large recipe database that has useful tags on all the recipes for easy searching. Tags by type (Vegetarian, etc) as well as by cooking (Slow Cooker, Stovetop, Oven, etc).
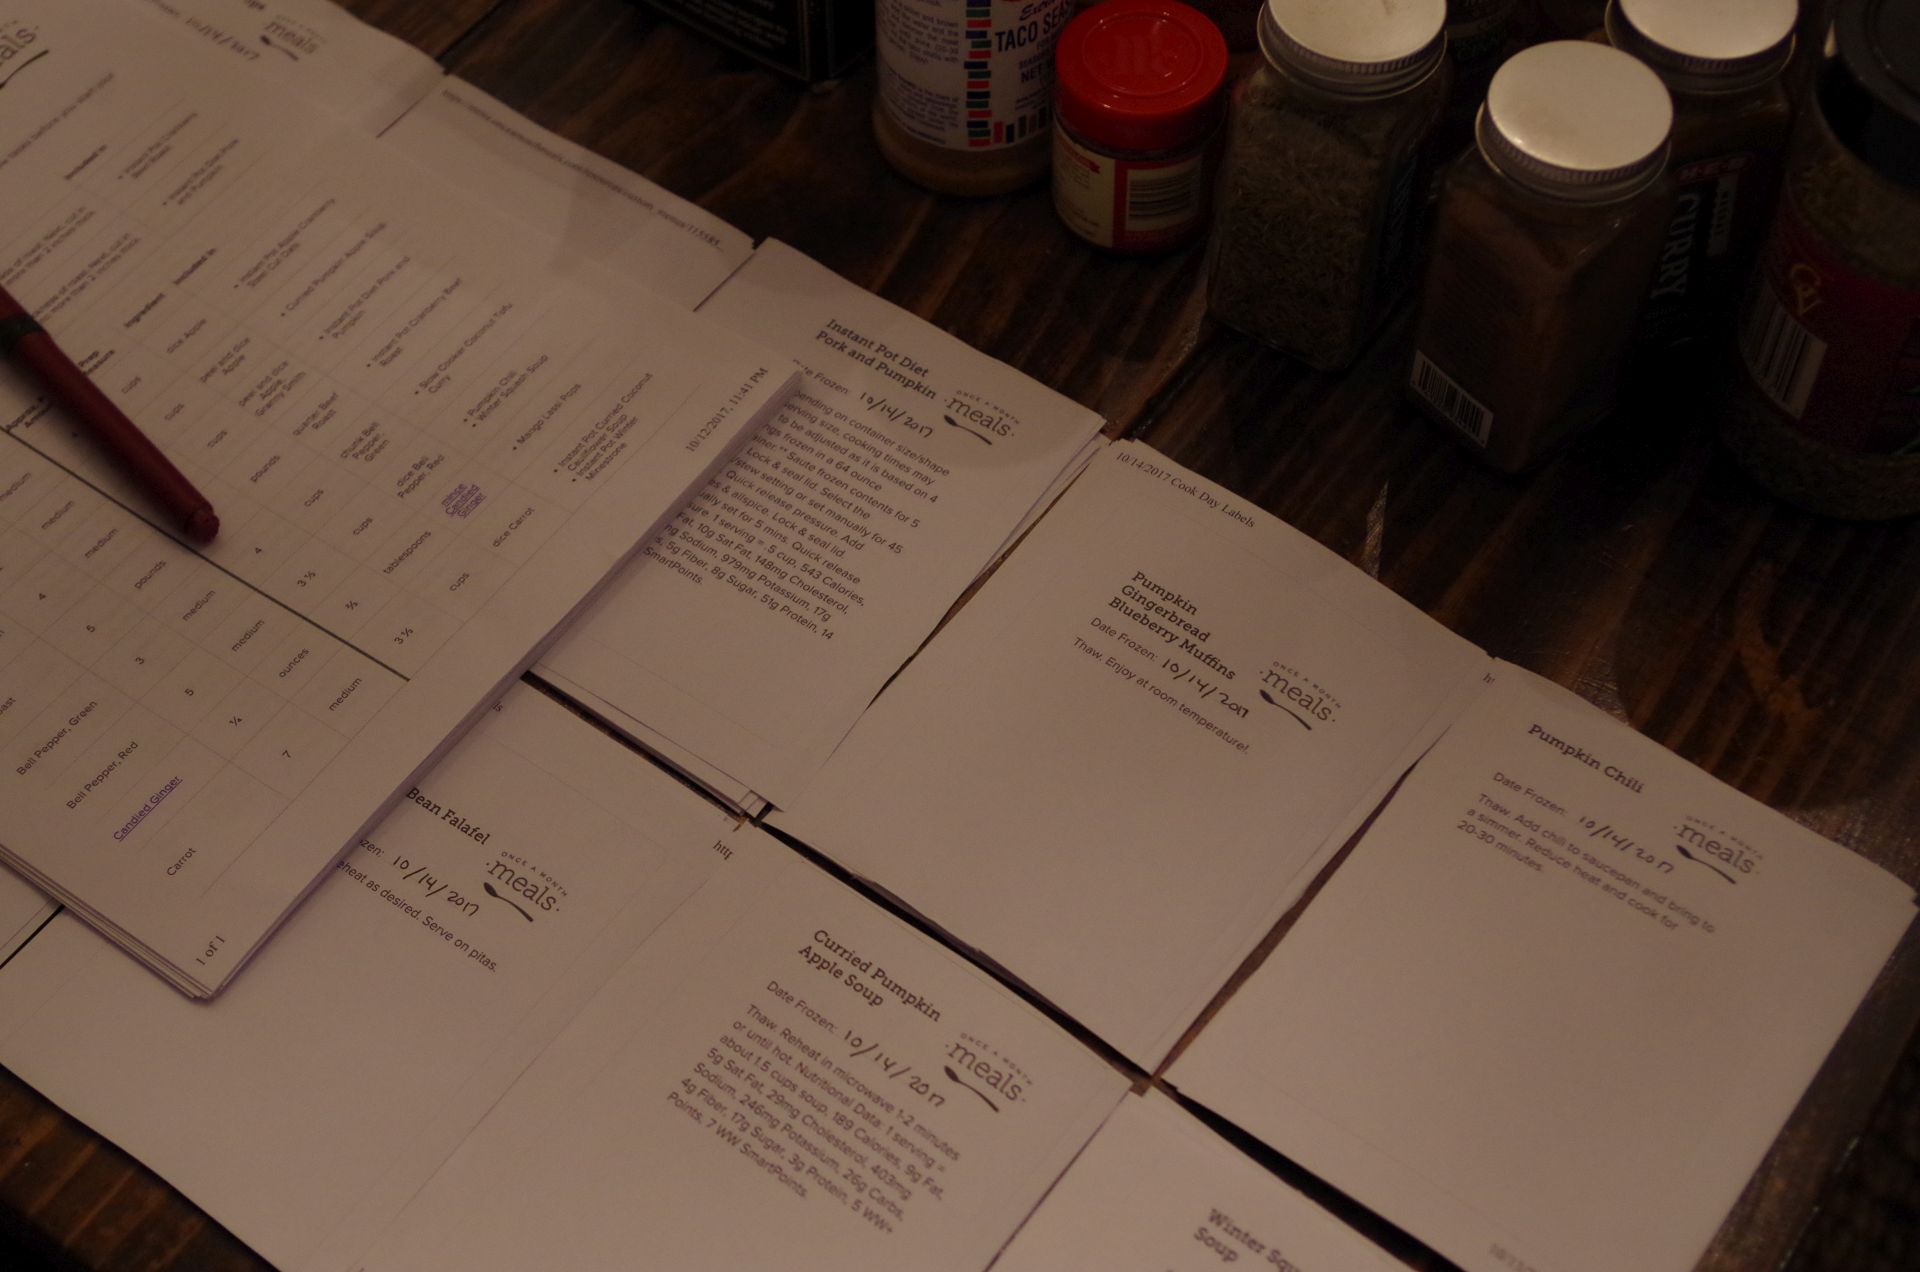
- Recipe cards. Once you finalize your menu, it generates a printable (PDF) card for each recipe.
- Shopping lists. Once you finalize your menu, it generates a shopping list. This is the other area that could use some improvement. It isn’t a fault in their code, but rather a fault in the consistency of recipes in their database, which is a lot more complicated to fix. The problem is that if a recipe calls for “1 can diced tomatoes” and another recipe calls for “1 can tomatoes (diced)”, then you have two separate line items on your shopping list. That is easily figured out in that example, but can be more ambiguous at times, such as when a recipe doesn’t specify “can”, but that is what they expect based on the recipe instructions portion. In reality, this will manifest as us having an extra fresh tomato, and being one can short. We can chop up the fresh one and substitute accordingly, so not all is lost and we can usually avoid a trip to the store. We just double check the list against the recipes if anything seems like it is missing, before shopping day. They’ve become a lot better about this in the last year or so.
- Labels. They generate Avery-compatible labels to stick on your bags. We use the Enko clone labels from Amazon, which are much less expensive than the Avery ones and work just as good.
- Prep and instructions. They generate a rough guide on how to prep your food (what to chop, dice, etc), and the order to do things on cook day. We loosely follow this but have, over time, created our own system that is slightly different than what they typically recommend. I do recommend following their instructions until you get familiar with the processes, and figure out how you can tailor workflow to your particular kitchen and the amount of hands you have.
Thusday night we spent an hour modifying their Fall Vegetarian recipe guide, and ended up with a mostly vegetarian menu that included two roasts. Because it’s fall, and Kelly loves soups, we went with a lot of soups and stews this time. On Friday, we decided we didn’t want to go to the store, and placed an InstaCart order to have all the food delivered. A few hours later, we had $237 worth of groceries on our doorstep. There is a small premium on some things for Instacart, in store that might have cost $20 less. Additionally, we usually tip, about $15 for this particular order. We put all of the fridge and freezer things away, and lay out everything else we’ll need so that it is easy to get to.
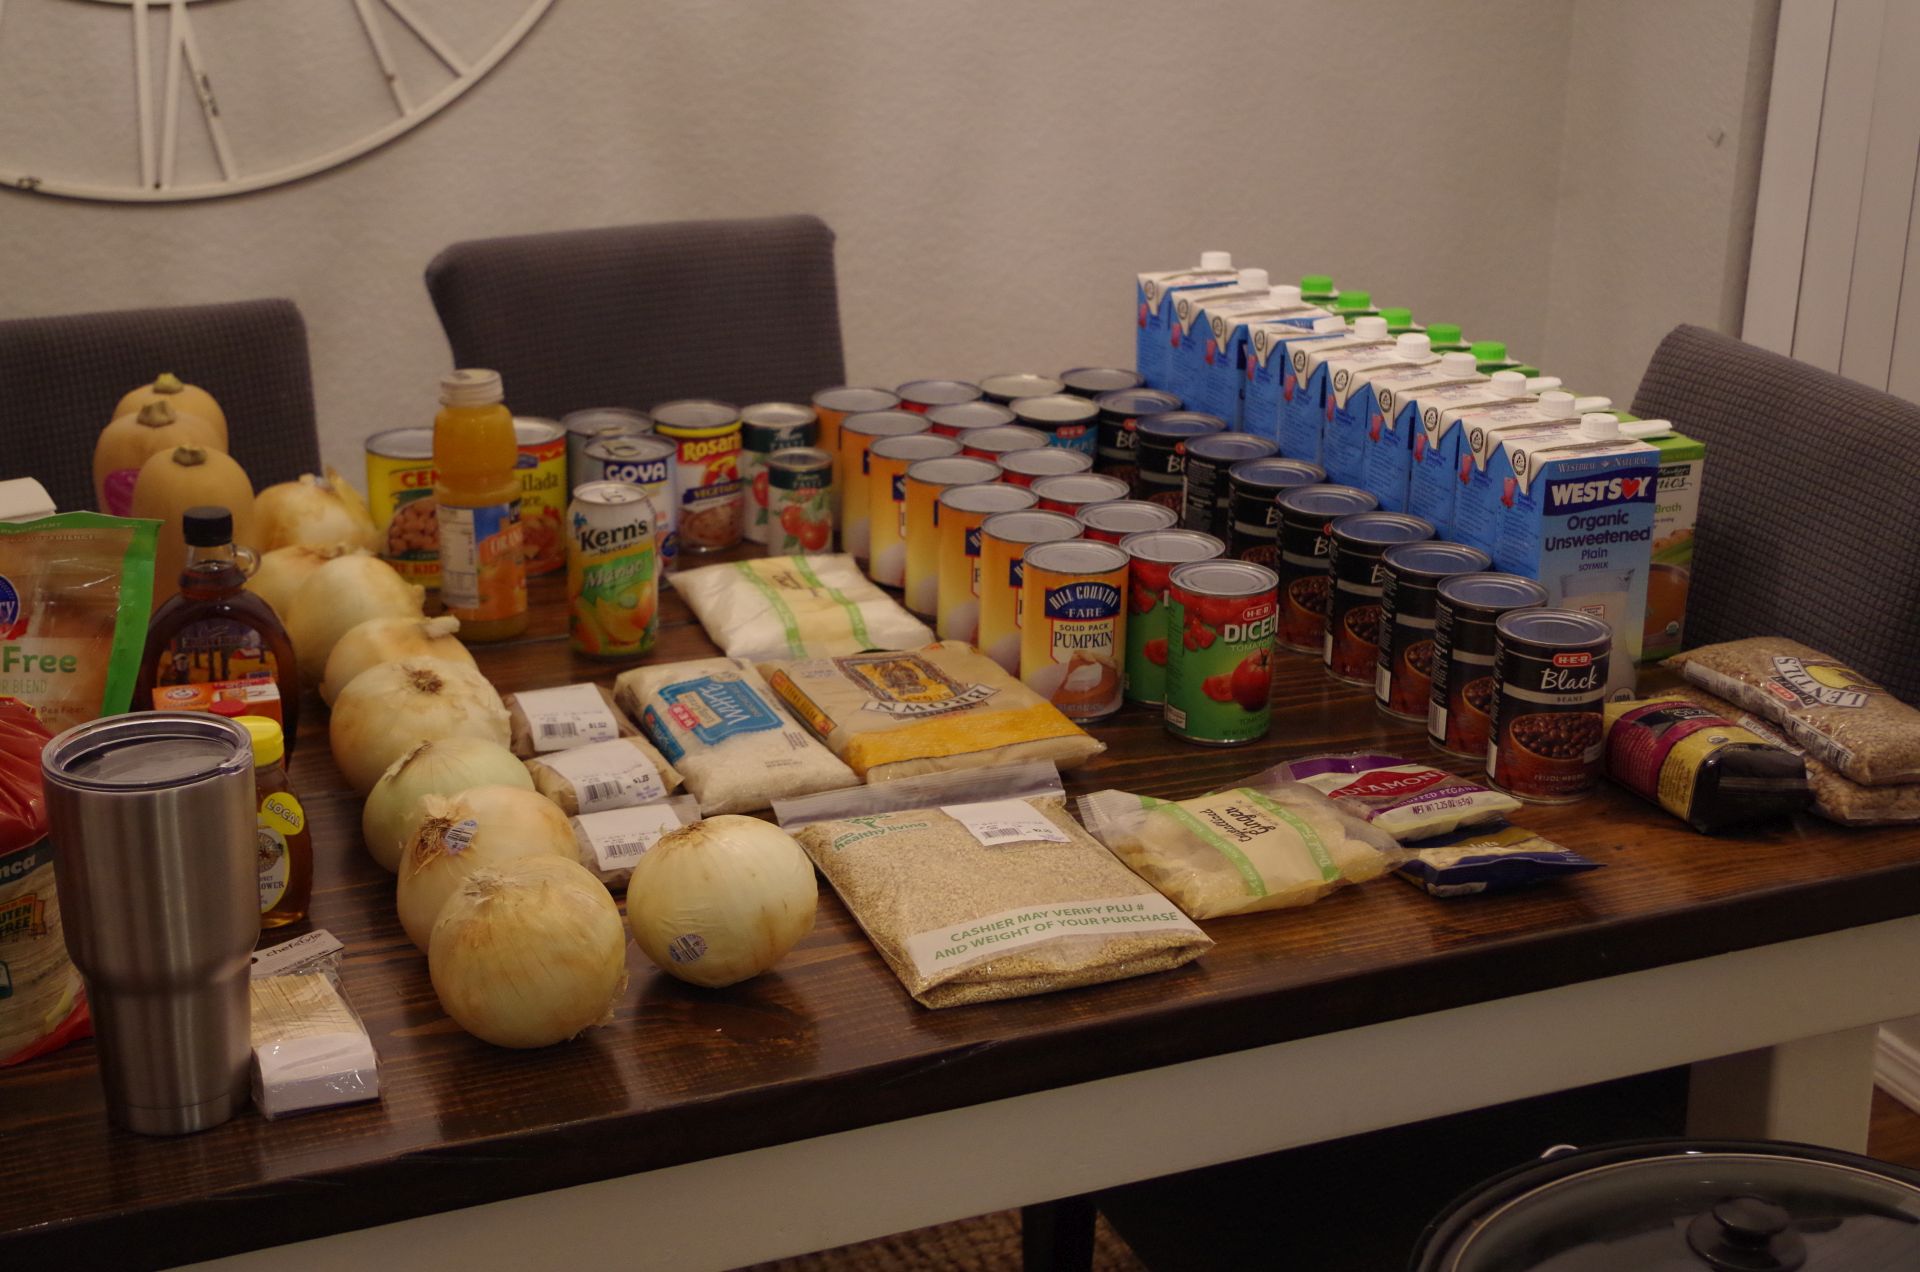
We also go ahead and prepare all the labels, so they’re ready and easy to stick on. Note: we don’t use all of them, and several go to waste, so we intend to rethink this in the future.
Saturday we slept in a bit, and didn’t start cooking until around noon. We finished up about eight and a half hours later. OAMM says to allocate 12 hours for cook day, but we’ve significantly shortened it with a few purchases specific to this kind of bulk cooking.
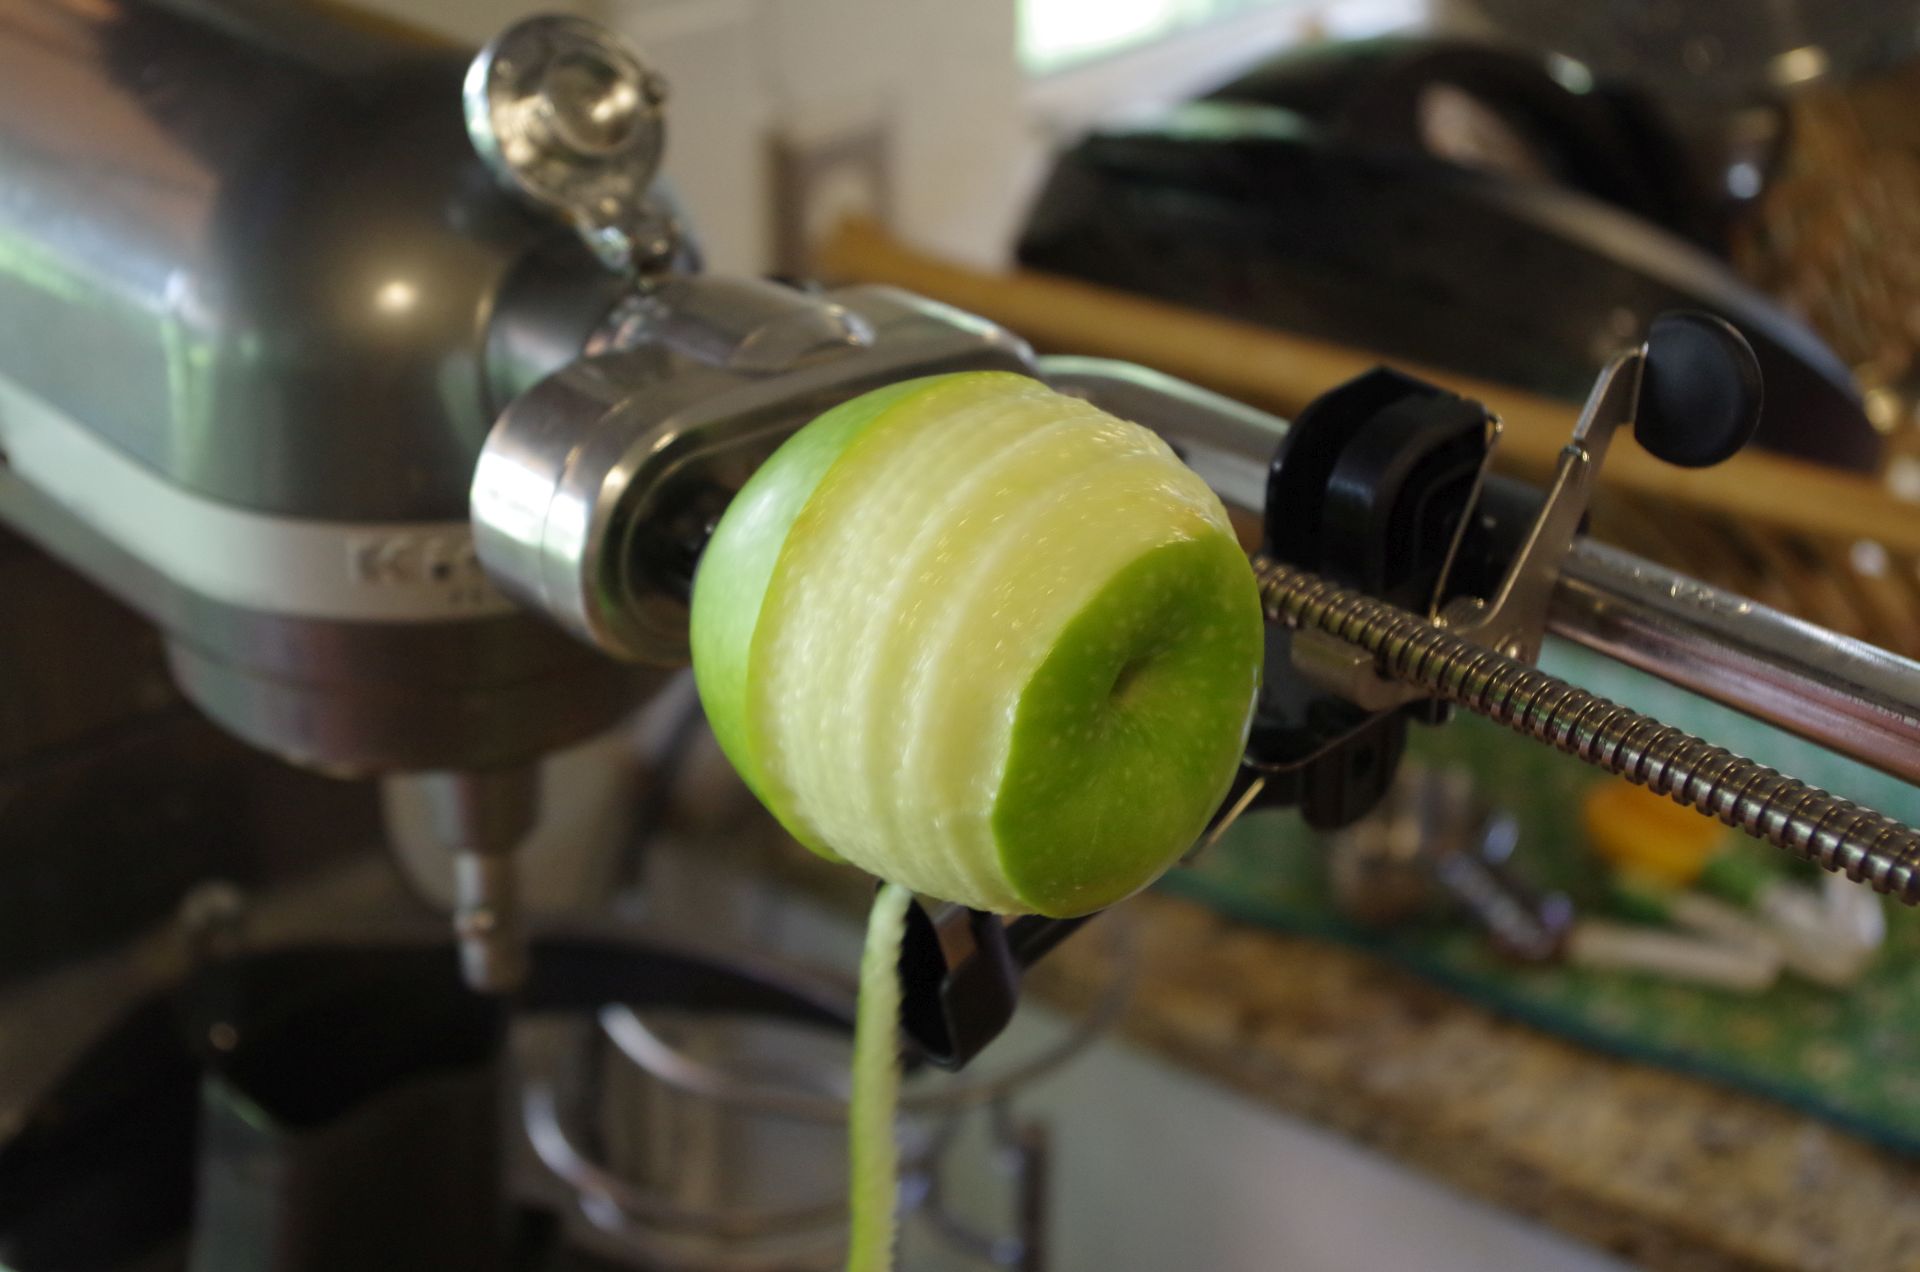
We make heavy use of a KitchenAid Pro 600 stand mixer and all the attachments we have for it. Being that there were a lot of fall recipes, which use apples, we needed to peel over a dozen apples. The Spiralizer attachment makes quick work of it, and cleanup is simple, with only two small parts actually touching the food:
[amazonjs asin=”B0002Y5X9W” locale=”US” title=”KitchenAid KP26M1XNP 6 Qt. Professional 600 Series Bowl-Lift Stand Mixer – Nickel Pearl”]
We bought ours refurbished about four years ago for $300, and it is still working great. We are very glad that we went with the stronger bowl-lift model rather than the head-tilt model they sell at most stores for the $299.
[amazonjs asin=”B00XPRRHYW” locale=”US” title=”KitchenAid KSM1APC Spiralizer Attachment with Peel, Core & Slice”]
While we didn’t make further use of it this time around, the attachment is also useful for slicing apples and other fruits/ vegetables, which we often use when dehydrating them in our Excalibur dehydrator, and for spiralizing vegetables like Zucchini for spaghetti “zoodles”.
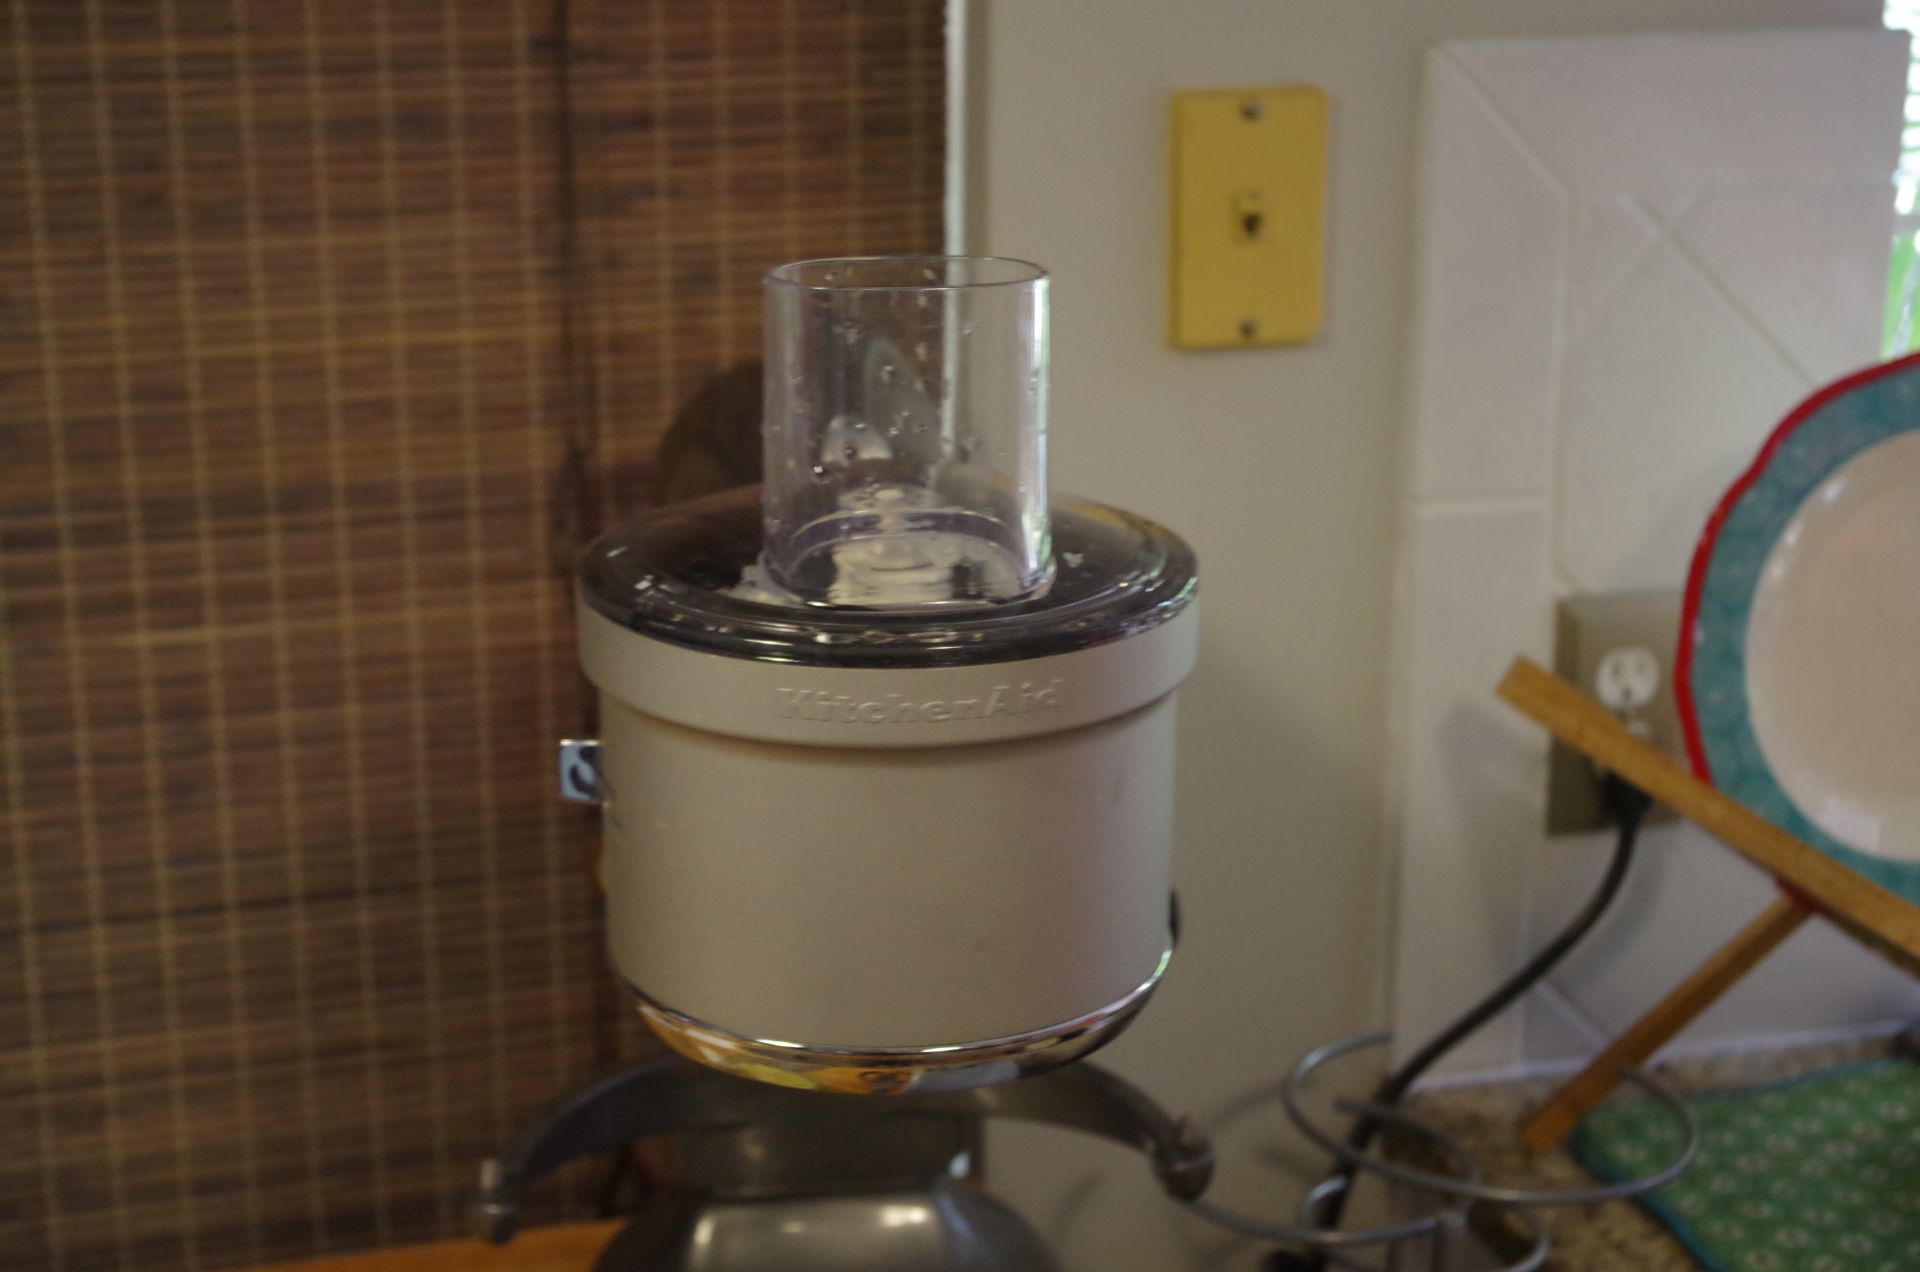
In addition to the spiralizer, we love the food processor attachment. We have a nice standalone food processor, but this one takes food in the top and just drops it out the bottom, directly into your measuring cup. That makes it incredibly easy to see exactly when you have that two cups of diced onion. Oh, and that’s the other great thing: it will dice your food into perfectly uniform 1cm x 1cm chunks. It struggles with some hard foods, like carrots and butternut squash, but will do them in smaller pieces. It handles things like apples, garlic, and onions easily and shaves hours of dicing off our prep times:
[amazonjs asin=”B00LEBP5IG” locale=”US” title=”KitchenAid KSM2FPA Food Processor Attachment with Commercial Style Dicing Kit”]
We bought our KSM2FPA for $110 as a factory refurbished model — so look around! The end result is that we can have something like this with only a couple minutes of work:
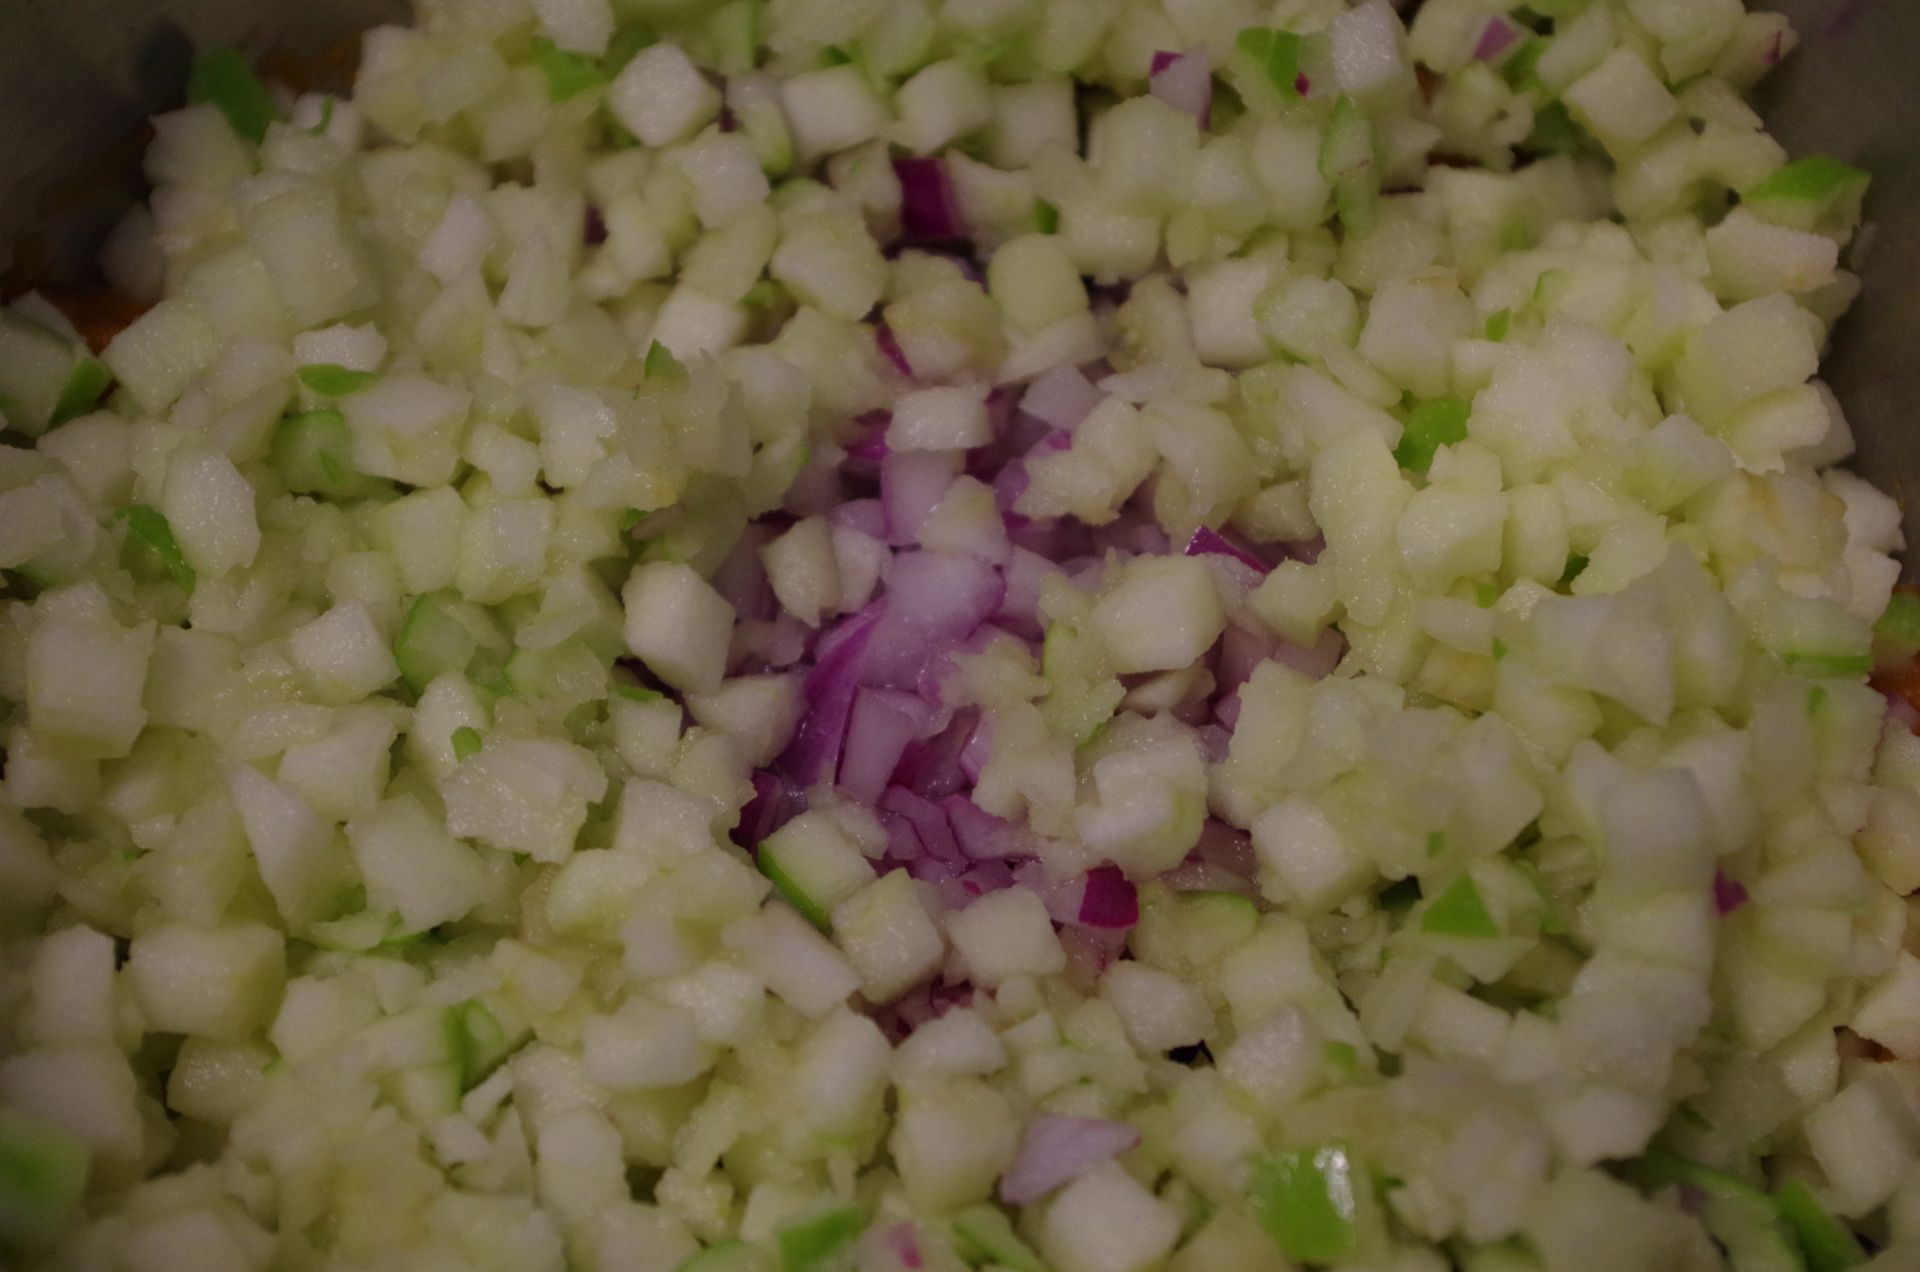
The food processor consists of two plastic parts, the blade, and the lid, that touch the food. Pretty simple to wash or you can just toss them on the top rack of the dishwasher when you are done.
Some of the recipes call for large numbers of pans, so we have to improvise for things like these muffins, where we used two cupcake trays, a muffin tray, and a mini-muffin tray. For a couple bucks a pan, investing in some uniform muffin pans is something I have been meaning to do for some time, but the thought always slips my mind when I’m in the store. This recipe was to make 28 “full-size” muffins:

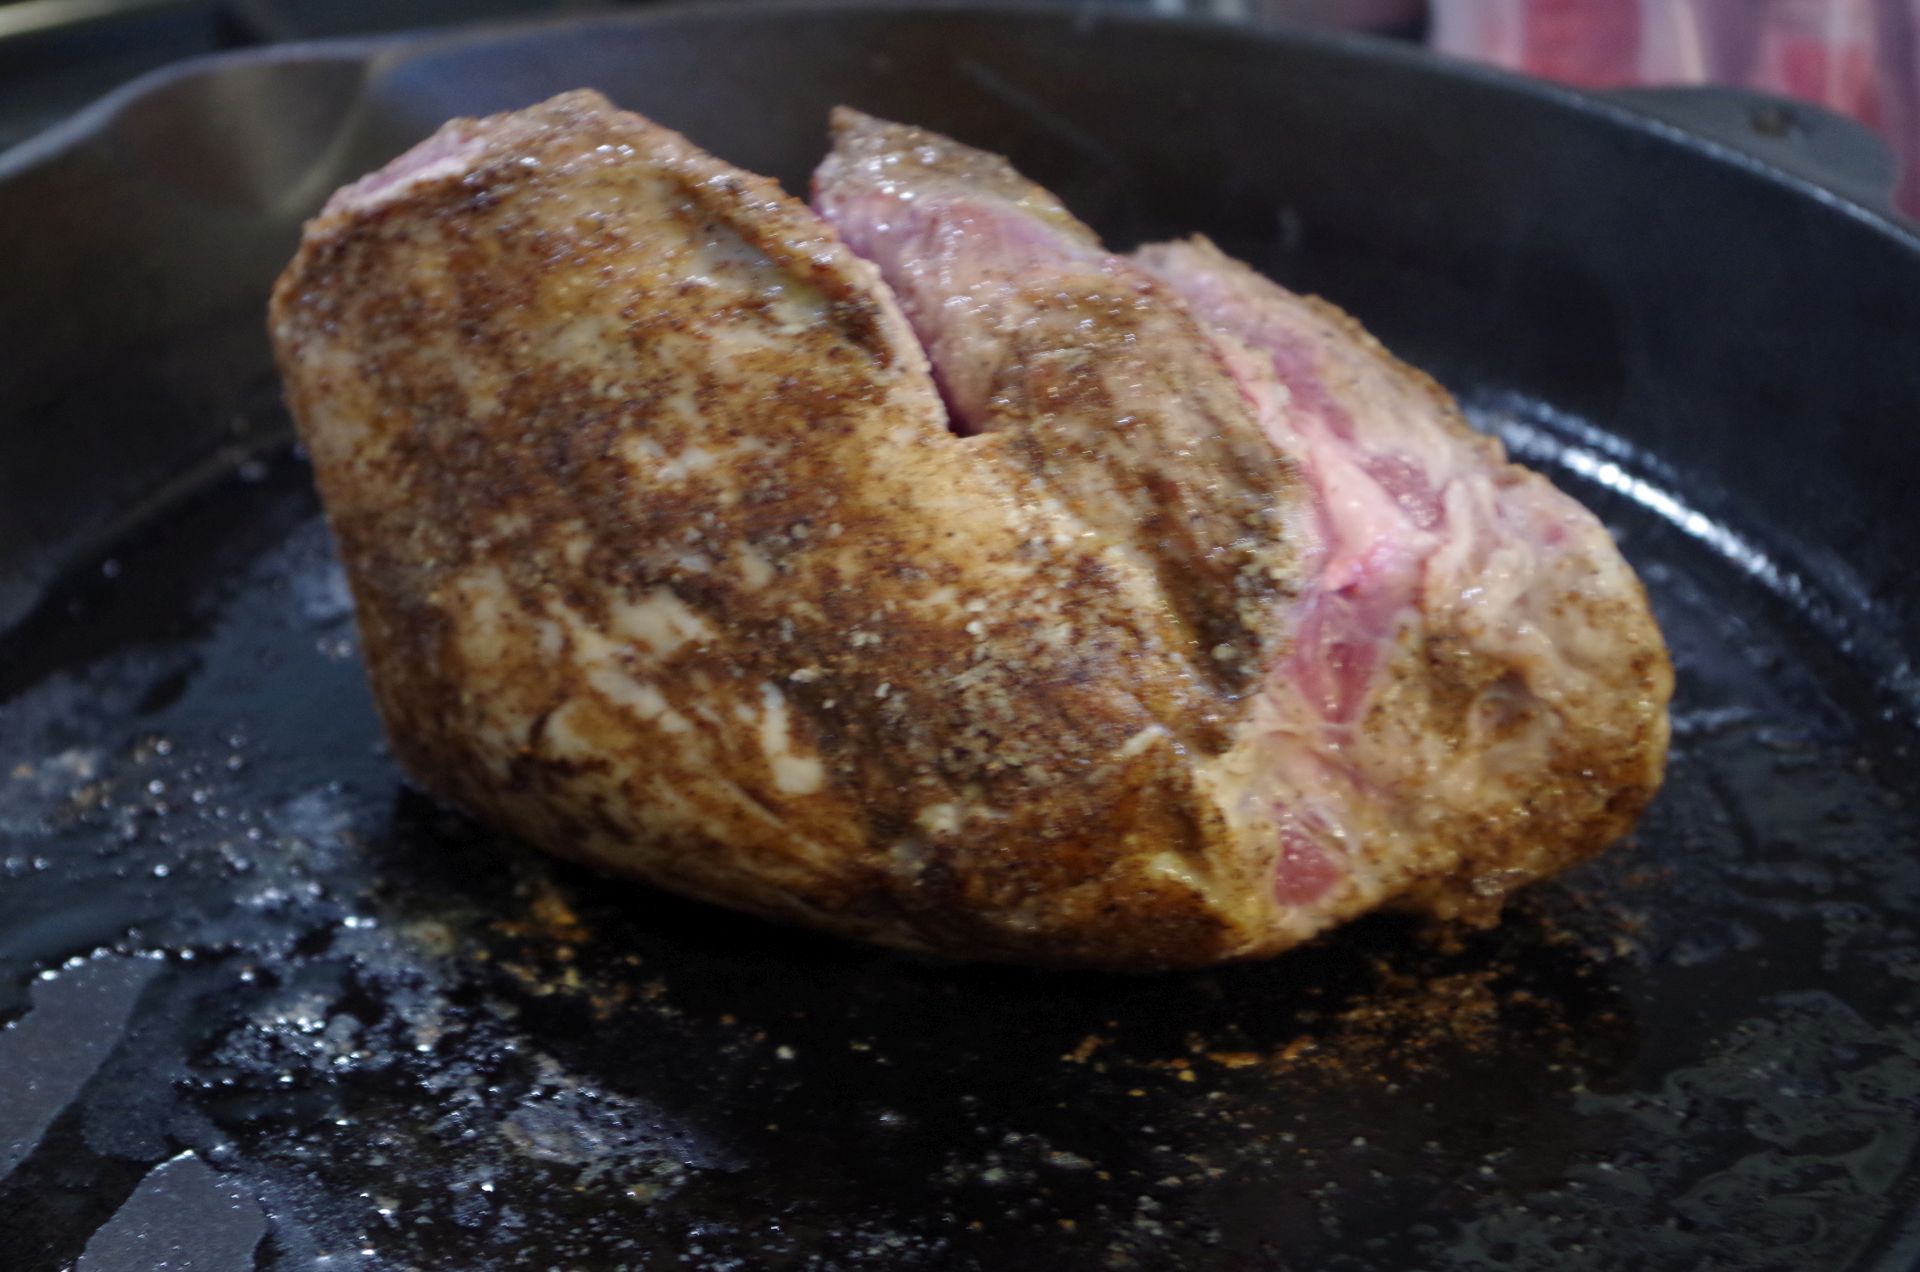
We ate vegan and vegetarian diets for many years, but don’t anymore due to some health issues. We eat meat a couple times a week, eating plant-based meals the rest of the time. This time we chose to do a pork roast and a beef roast. The pork roast called for browning it on the stove, so I pulled out my favorite cast iron skillet: a 60 year old 14A skillet that my parents gave me several years ago and I cleaned up and seasoned for near-daily use.
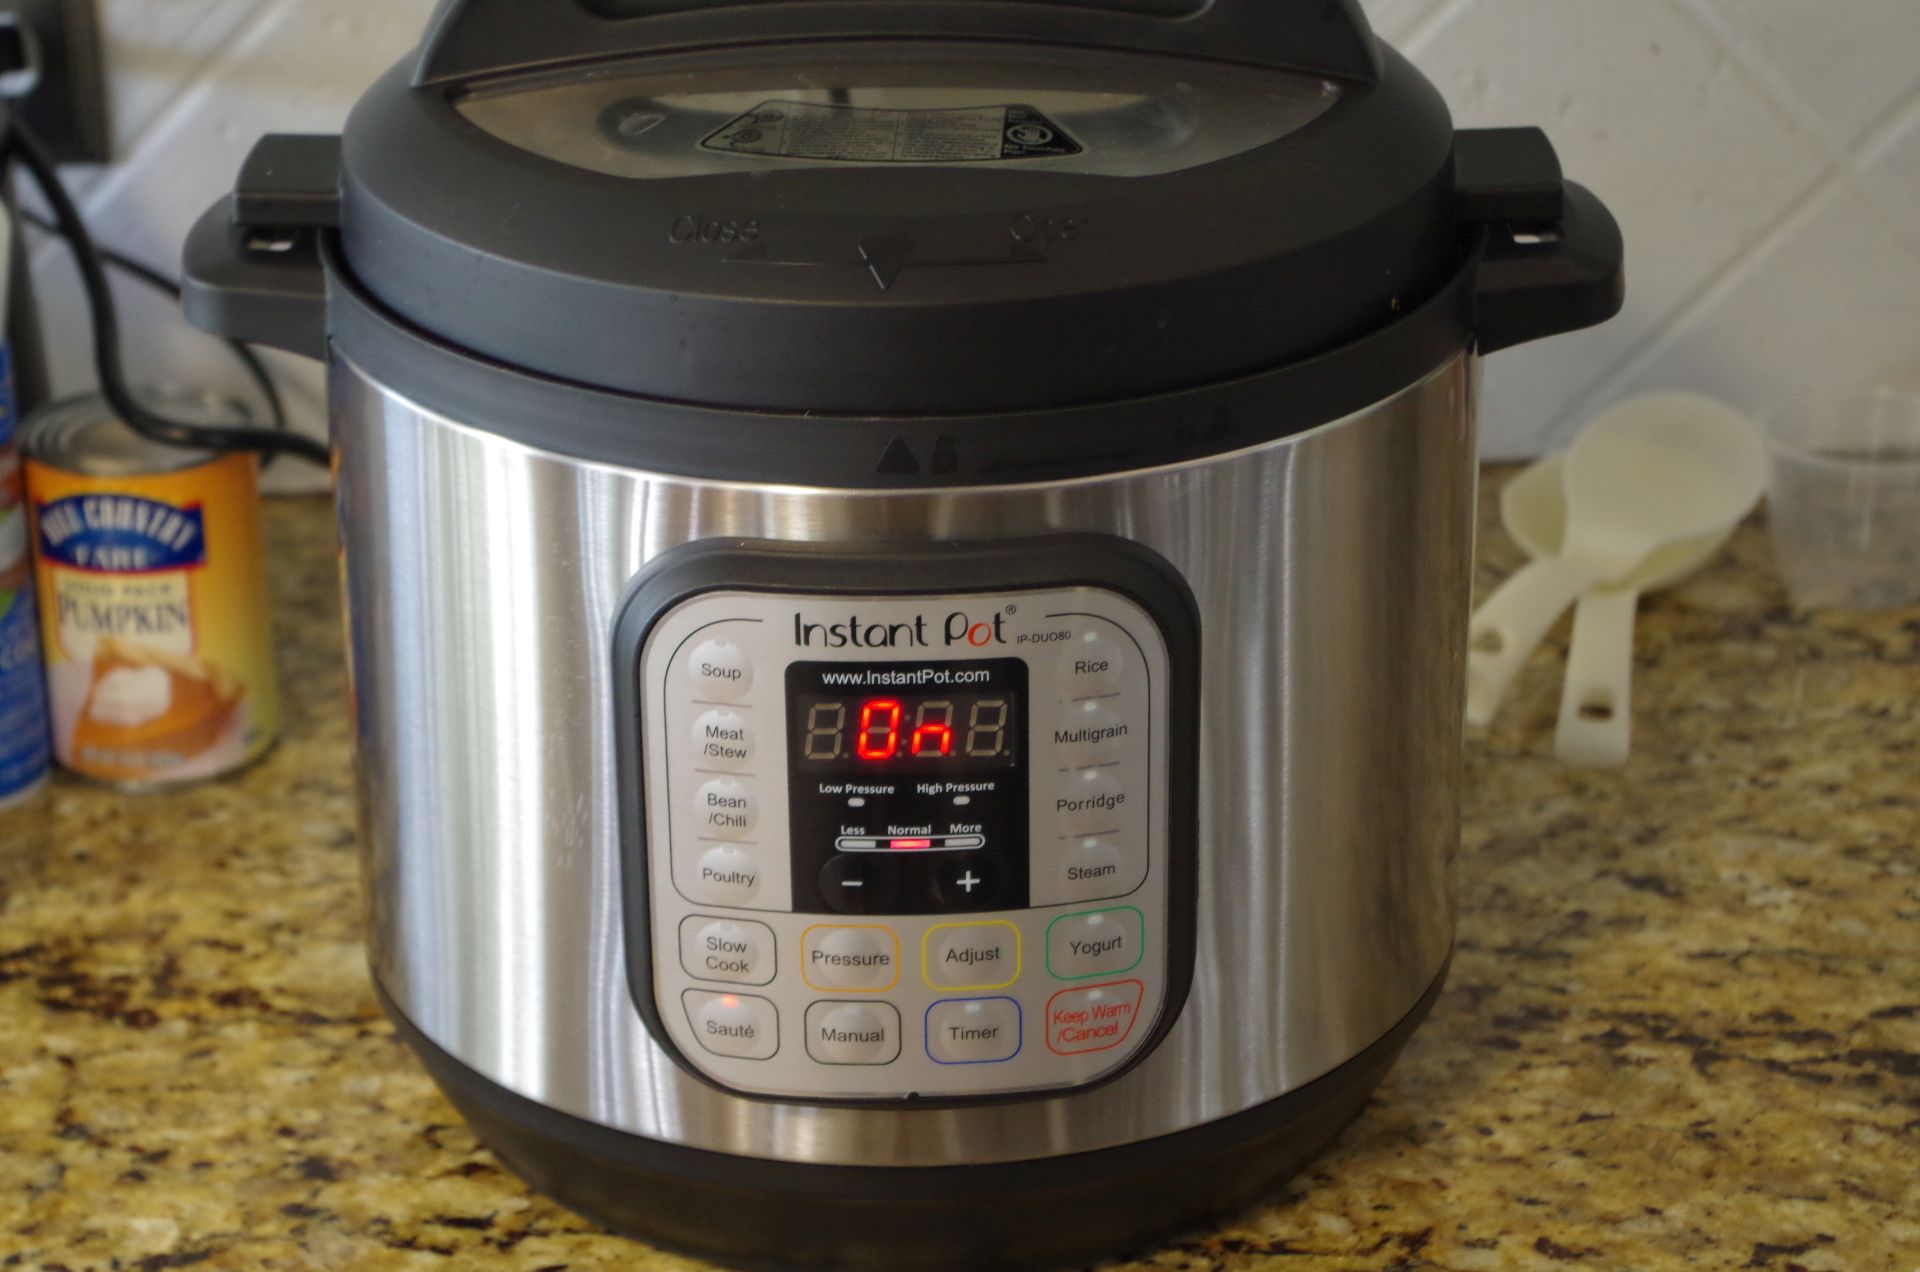
We also recently added an Instant Pot to our kitchen arsenal, based on the recommendations of OAMM. I spoke with one of my friends about this afterwards, and turns out he is a huge fan of them. They are basically glorified pressure cookers, that have other functions like saute and slow cook, making them perfect for one-pot meals. We have made some amazing recipes in amazingly short periods of time since having this.
[amazonjs asin=”B01B1VC13K” locale=”US” title=”Instant Pot DUO80 8 Qt 7-in-1 Multi- Use Programmable Pressure Cooker, Slow Cooker, Rice Cooker, Steamer, Sauté, Yogurt Maker and Warmer”]
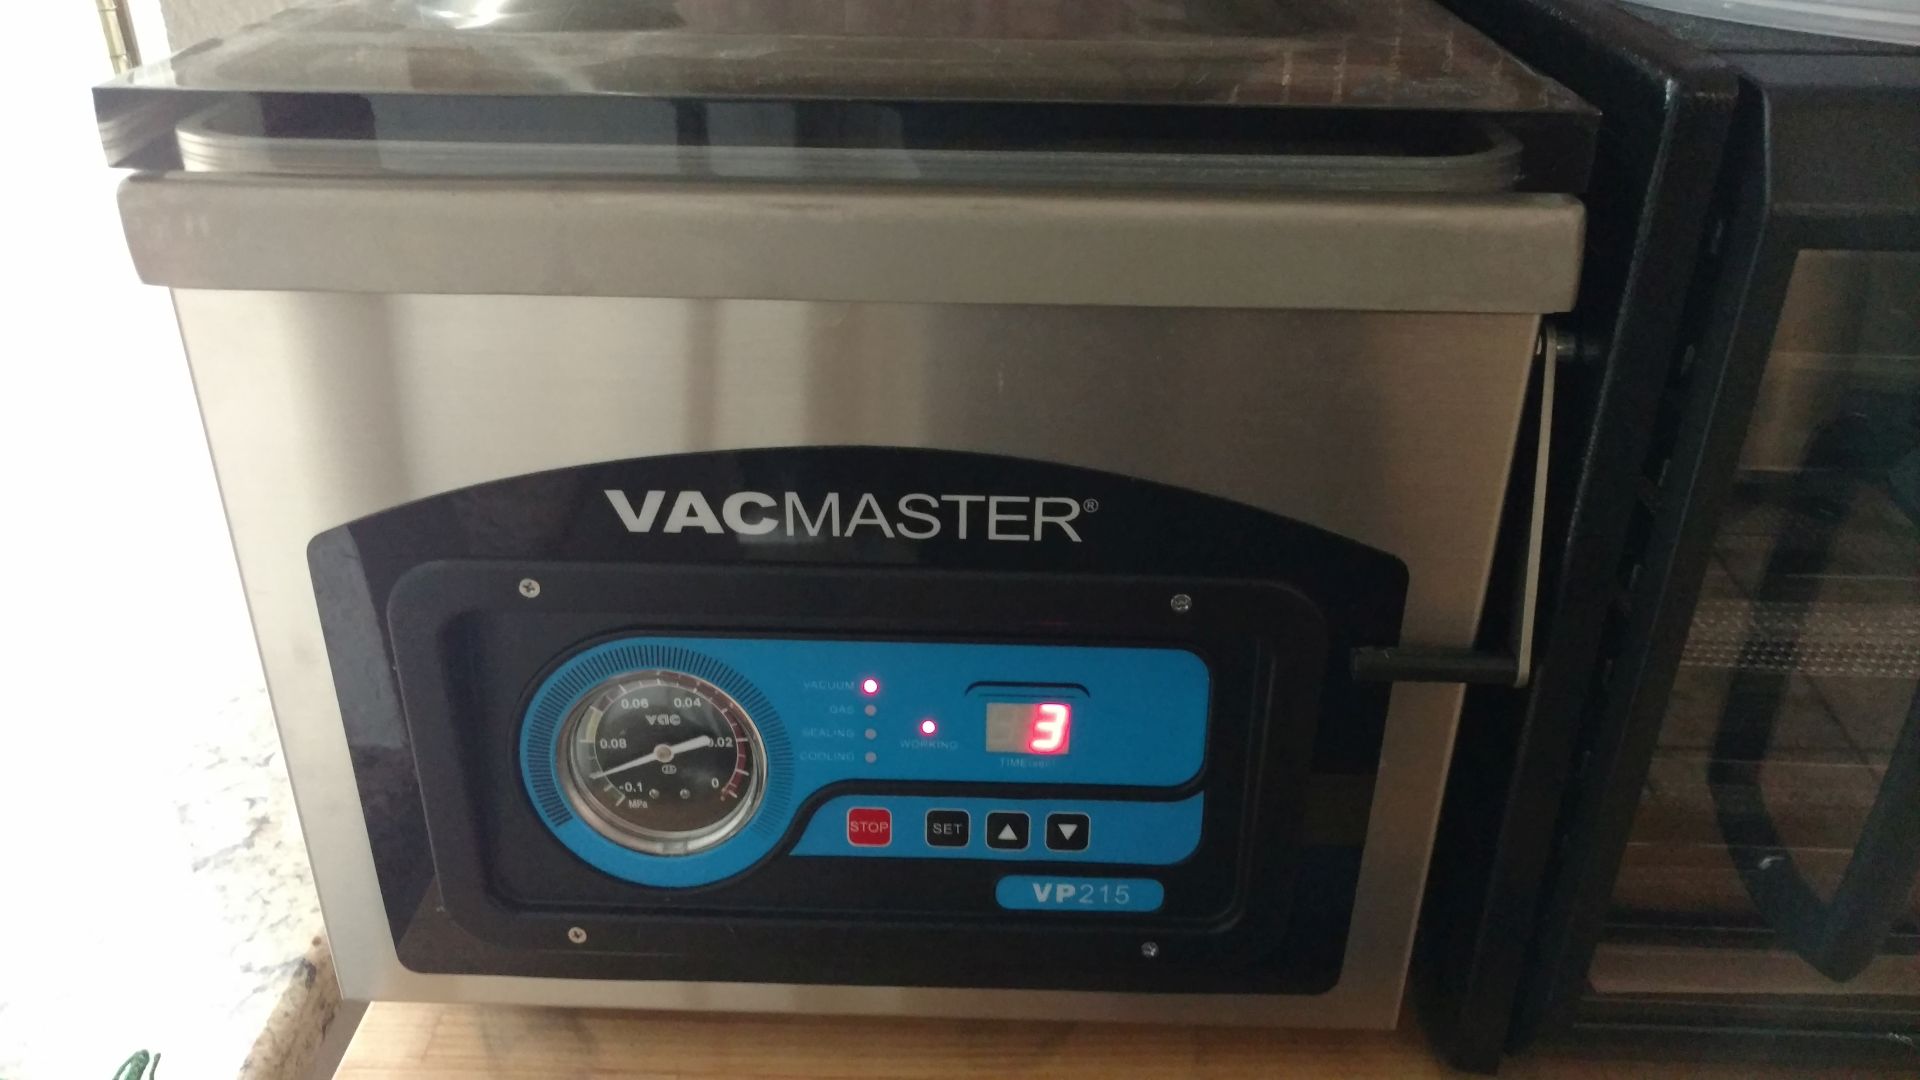
When we’re done with each meal, we run them through our VacMaster VP-215. OAMM usually recommends using Ziploc bags, but we’ve found that vacuum sealing works much better. You don’t get ice crystals on your food and they stay fresh longer. Ziplocs work fine, and we used them for years, but we’re not going back. Unlike the FoodSaver vacuum sealers you can buy at Walmart or Target, the VP215 can be used to seal liquids. If we were using a typical vacuum sealer, many of our recipes this time, soups and stews, could not have been sealed. If you go this route, you must get a chamber style, which is much more expensive. Fortunately, they’re commercial machines and should last for decades of residential use, and the bags themselves are much less expensive. We buy the bags in bulk, for just a couple cents a bag, an order of magnitude cheaper than FoodSaver bags and a good bit less than Ziploc Freezer bags. We feel the up front investment (I don’t recall exactly, but the current price is $689, it was around that) has already paid itself off between the cost of saved food (leftovers we would have ordinarily thrown out, and things that would have gone bad in Ziplocs) and cheaper bags.
[amazonjs asin=”B005ETDKEA” locale=”US” title=”VacMaster VP215 Chamber Vacuum Sealer”]
The end product once we seal and label them, looks something like this:
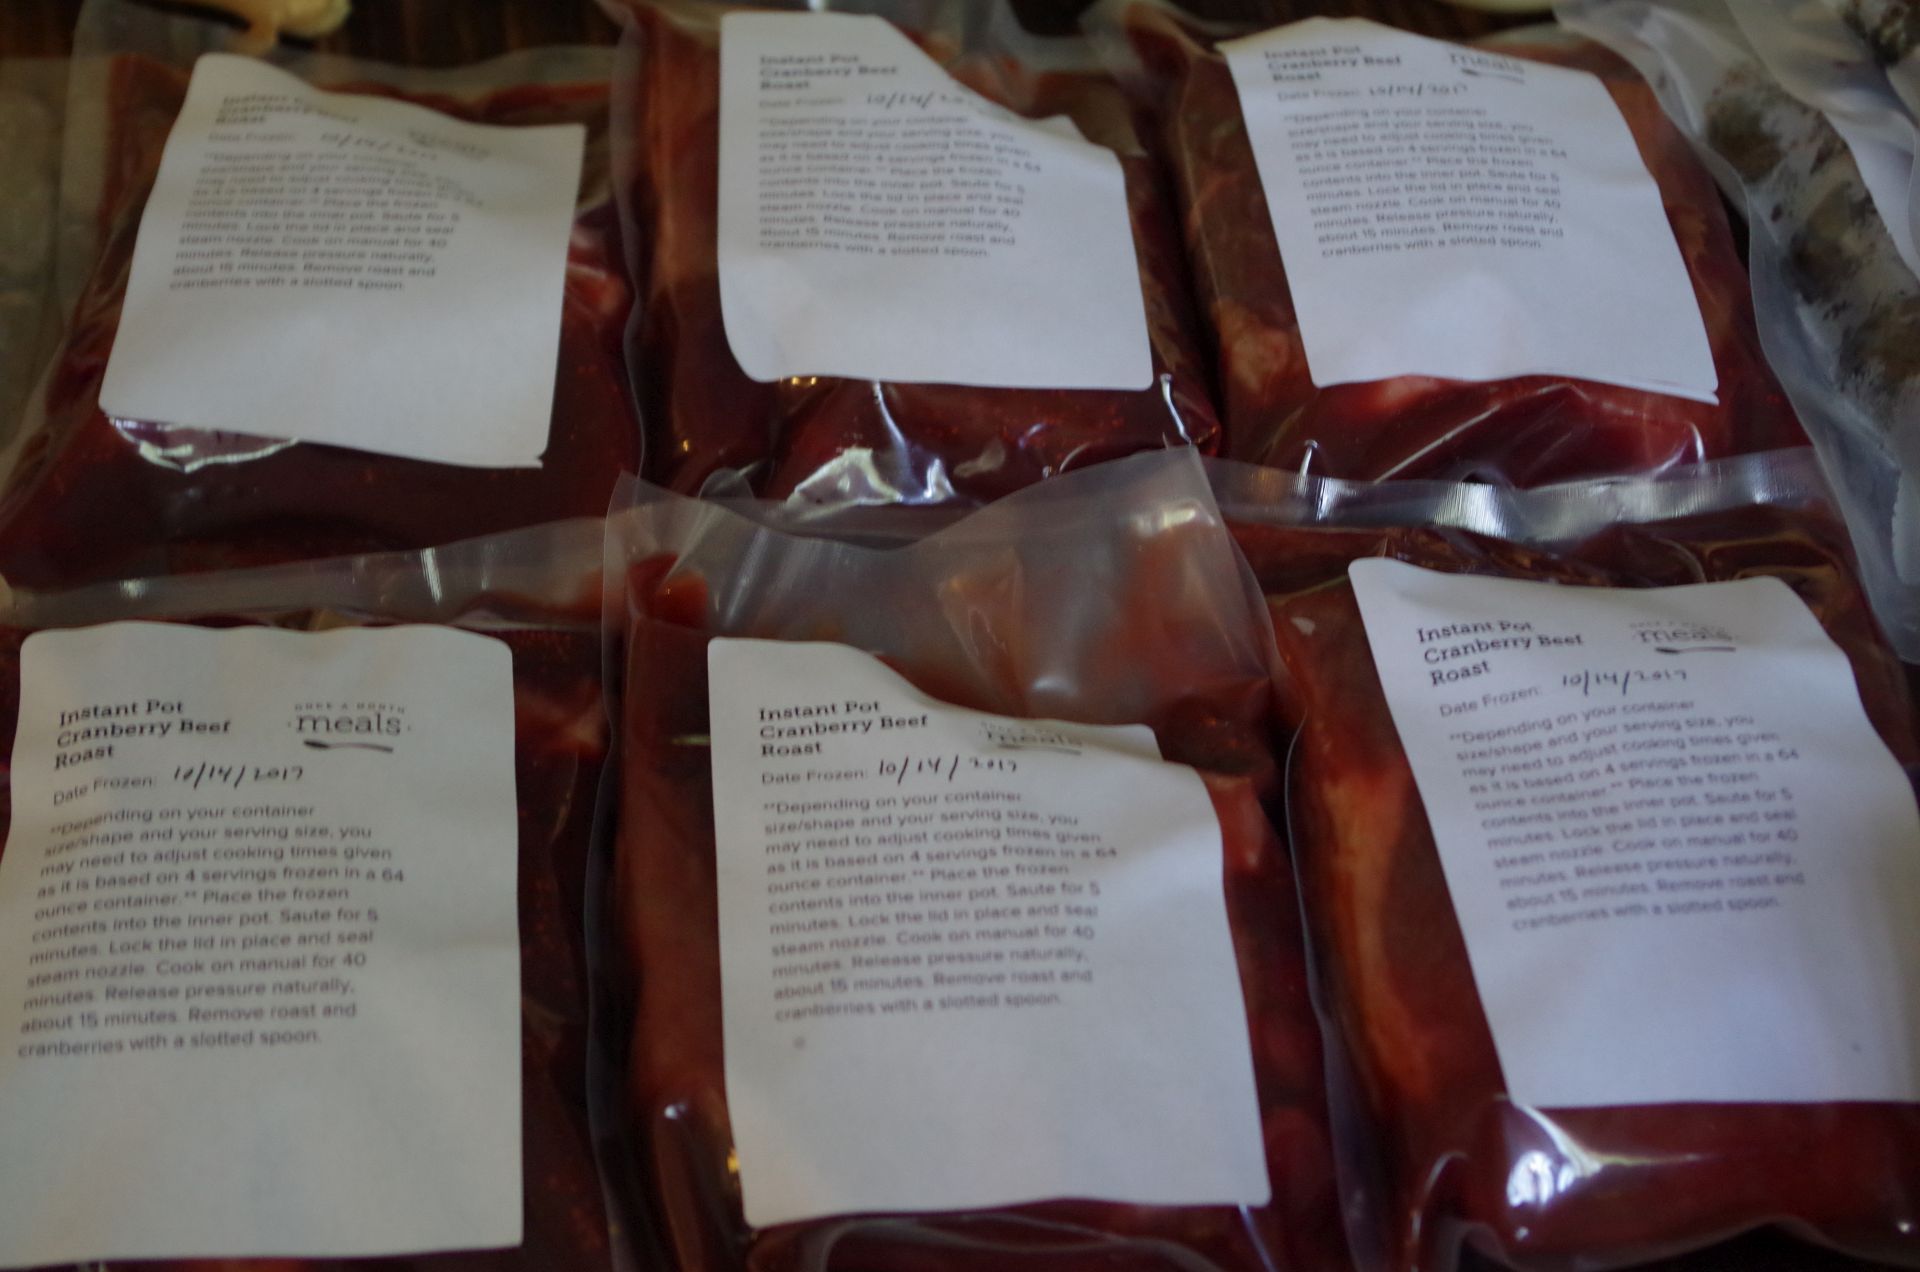
And, since the bags have perfect double seals on them, we can lay them down, even with liquid on them, to save space. So we can make the most efficient use of our freezer space. Yesterday’s cooking yielded this:
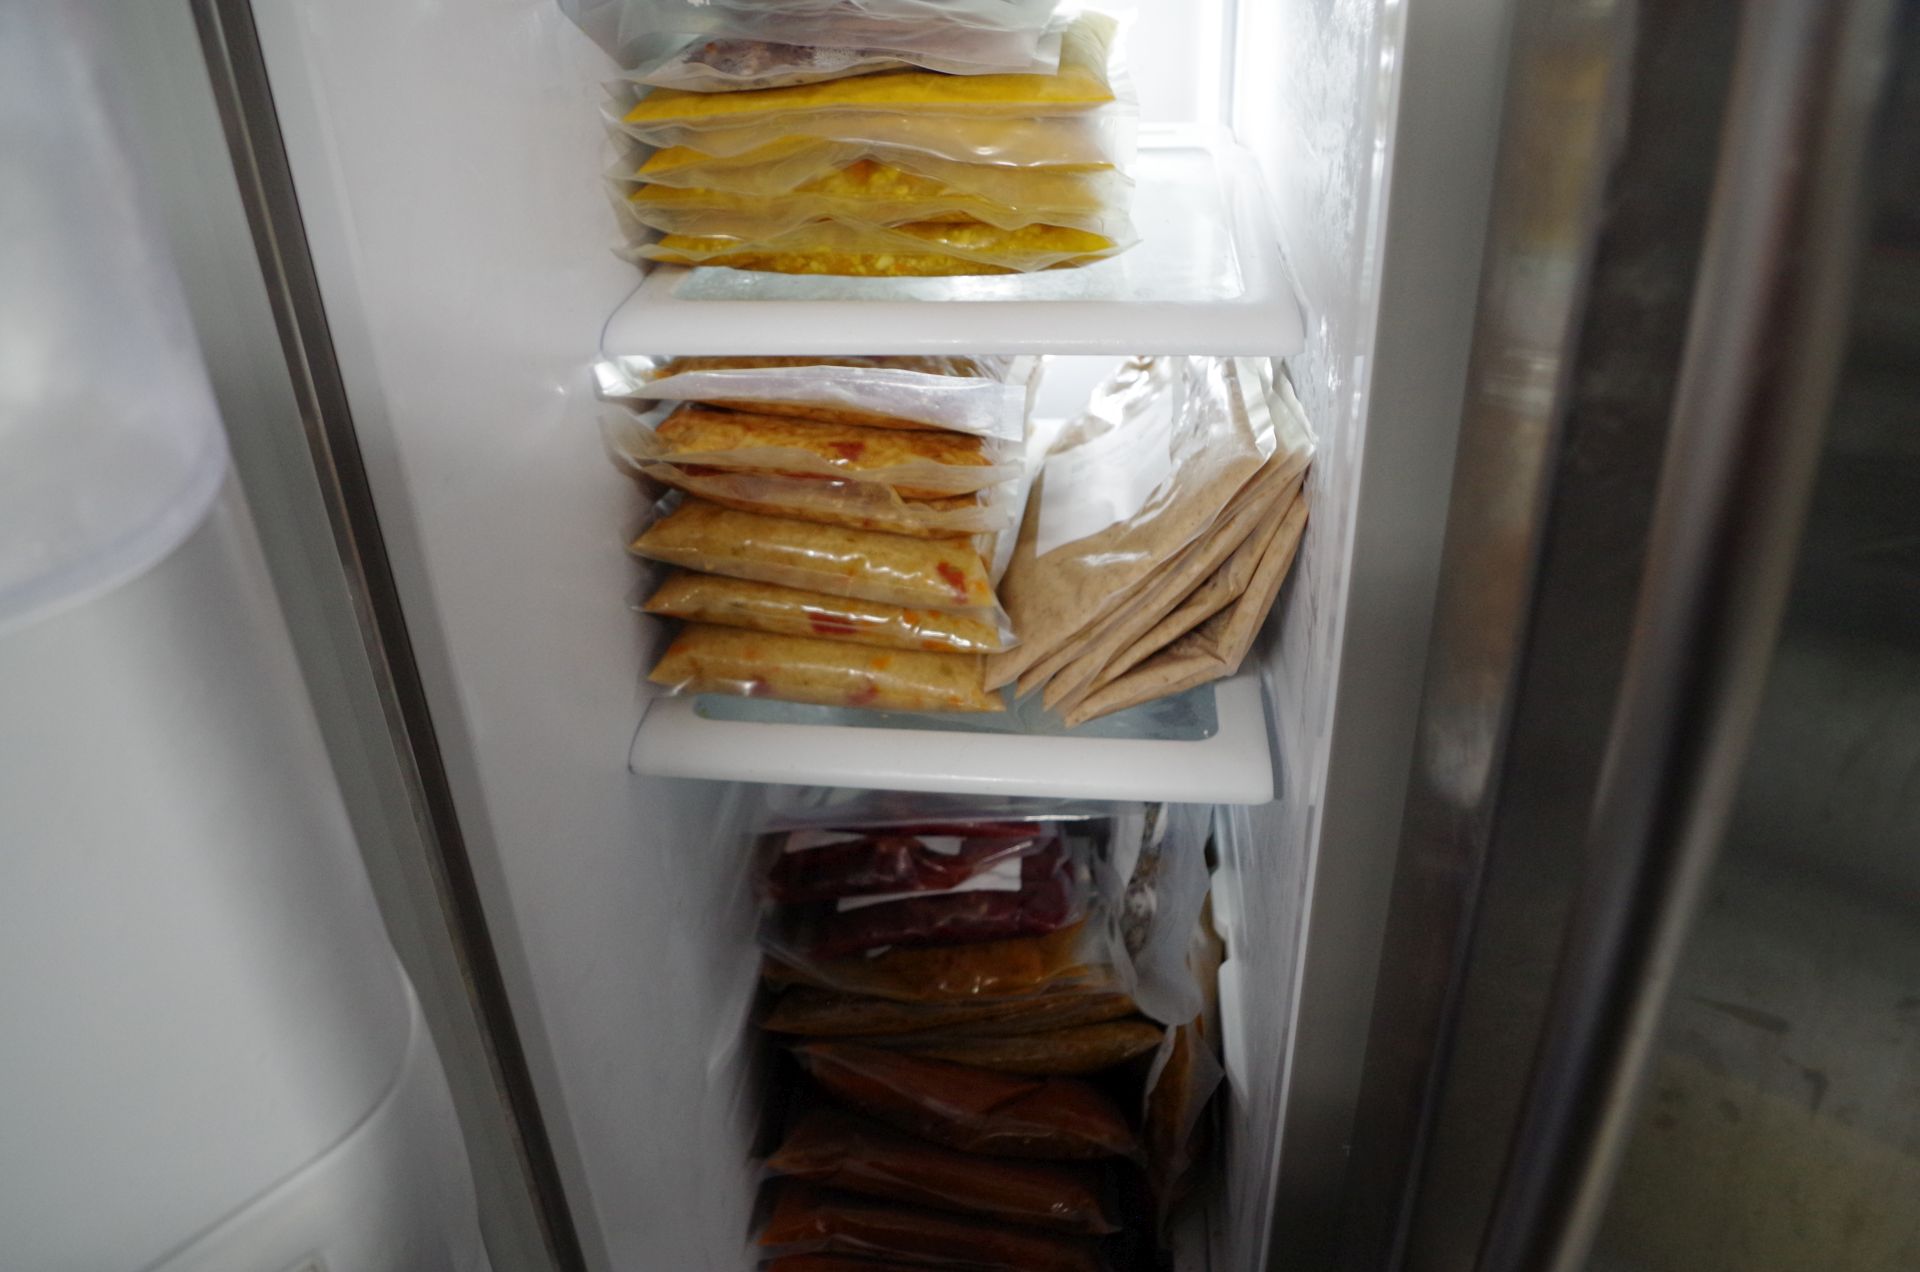
All of those meals are either ready to be thrown in the microwave or Instant Pot on serving day, for warming. Most of them are completely done, and others, like the roasts, are marinating and waiting to be thrown in a slow cooker for several hours. Either way, doing this saves us a lot of time and effort in the long run, allows us to control the ingredients in our convenience food, saves money and waste by working in bulk, and gives us food reserves should we ever need them (assuming, say, we have enough fuel for our generator to work through an extended power outage and keep the freezer on, which we should).